This NetApp training tutorial explains how to install and configure the VyOS virtual router in VMware Workstation. The networks and IP addresses configured in the tutorial are for my NetApp lab, but you can easily adapt them to any project you’re working on. Scroll down for the step by step video and also text tutorial.
The VyOS router enables connectivity between the hosts and storage which are in different IP subnets in our lab, just like they’d be in a real world environment.
This is the third in a series of NetApp training videos which accompany my ‘How to Build a NetApp ONTAP 9 Lab… for Free‘ eBook. The videos show me following along with the step by step instructions in the book as I build the lab on my laptop.
You can download the eBook here.
And you can get the entire video series here.
VyOS Router Installation and Configuration – Video Tutorial

Lance Candia
Concise detailed information. Neil is not vague about his explanation. He provides some “what if’s” as well as “for instances” which again take out any ambiguity pertaining to the training. He stays on point, doesn’t go off topic or on a tangent. He keeps it relevant with some historical or legacy information where it makes sense. Overall I would use the word to sum up this training as “impressive”.
The steps to build the router are:
- Download the free version of the VyOS virtual router.
- Create a new virtual machine in VMware to install it into.
- Add extra network interfaces in VMware.
- Assign the interfaces to the correct VMnet networks.
- Install the VyOS image on the virtual hard drive so that you can save your configuration (it boots from virtual CD by default.)
- Configure VMware to boot from the virtual disk.
- Configure the interface IP addresses in VyOS.
- Enable SSH management access so that you can connect to the router from Putty.
Here's the full step by step instructions:
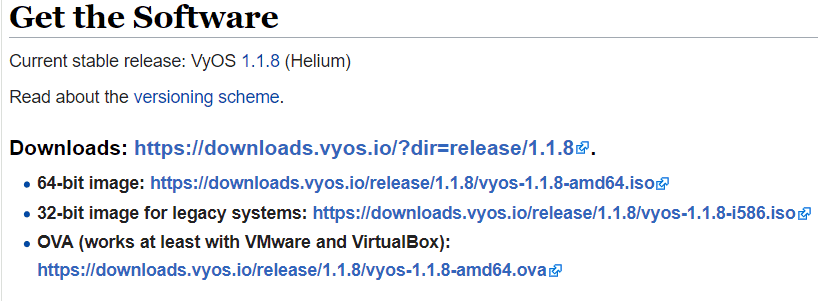
- Open the VyOS webpage at https://wiki.vyos.net/wiki/Main_Page in your browser
- In the Get the Software section, click on the link to download the 64-bit image
- After the file has completed downloading, open Windows Explorer and browse to the folder you created earlier on your laptop named NetApp Lab.
- In the NetApp Lab folder, make a subfolder named VyOS. We will create the VyOS Router in here.
- Find the VyOS Router ISO file you downloaded and move it into the VyOS folder. It will have a name similar to vyos-1.1.8-amd64.iso
- Open VMware Workstation Player
- Click Create a New Virtual Machine

- Select Installer disc image file (iso): and Browse to the VyOS router ISO file in the VyOS folder.

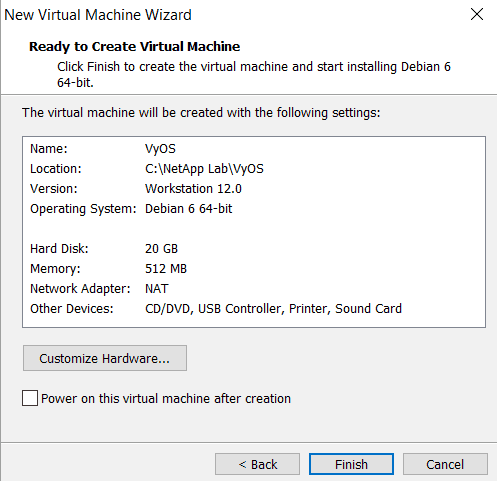
- Name the virtual machine VyOS and save it in the NetApp Lab\VyOS folder

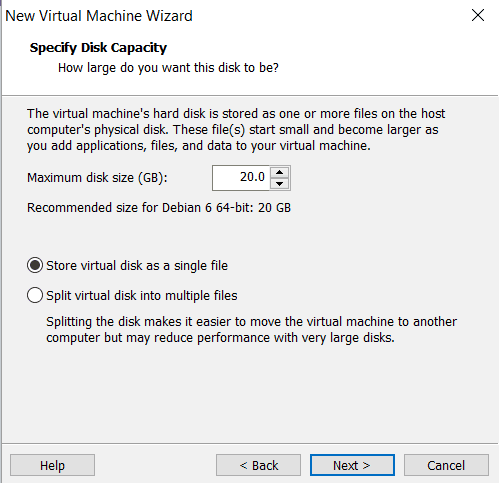
- Select the option to Store Virtual Disk as a single file and click Next.
- Uncheck the option to Power on this virtual machine after creation and click Finish
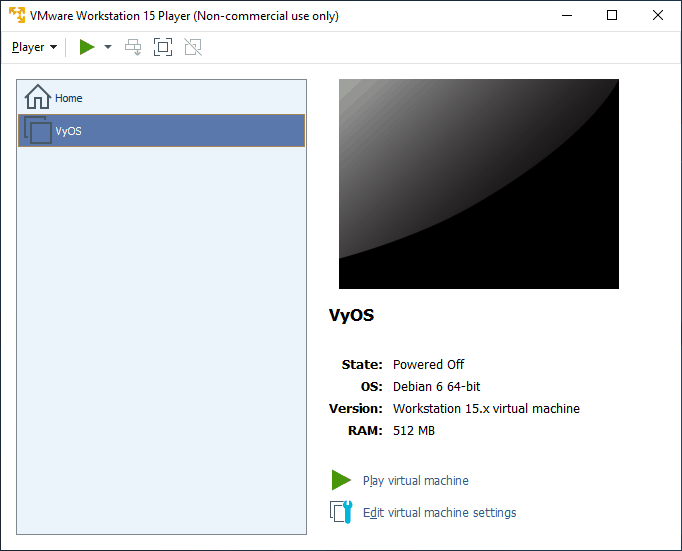
- Click Edit Virtual Machine Settings
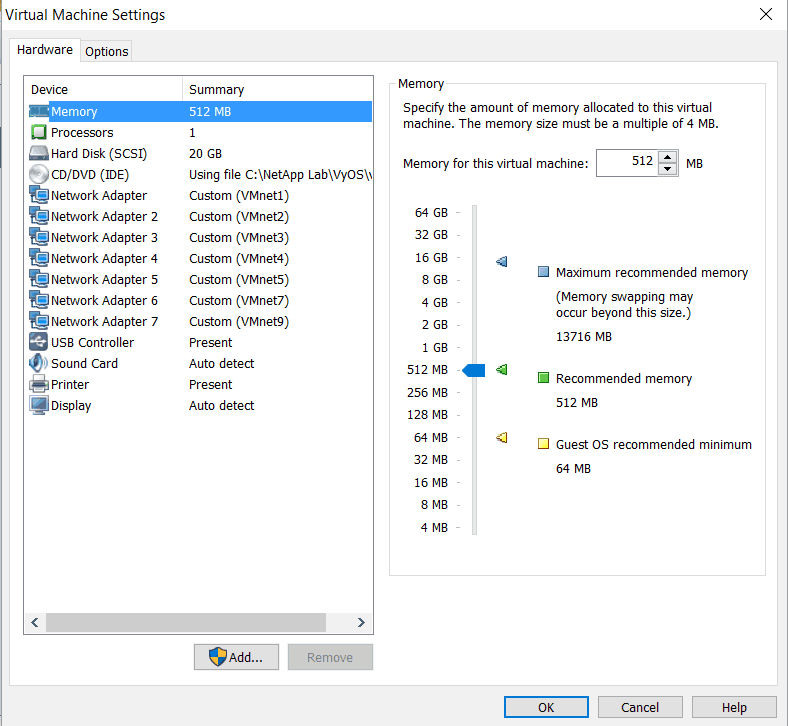
- We need to add Network Adapters for the lab IP networks. Click on the Add button and choose Network Adapter then click Finish
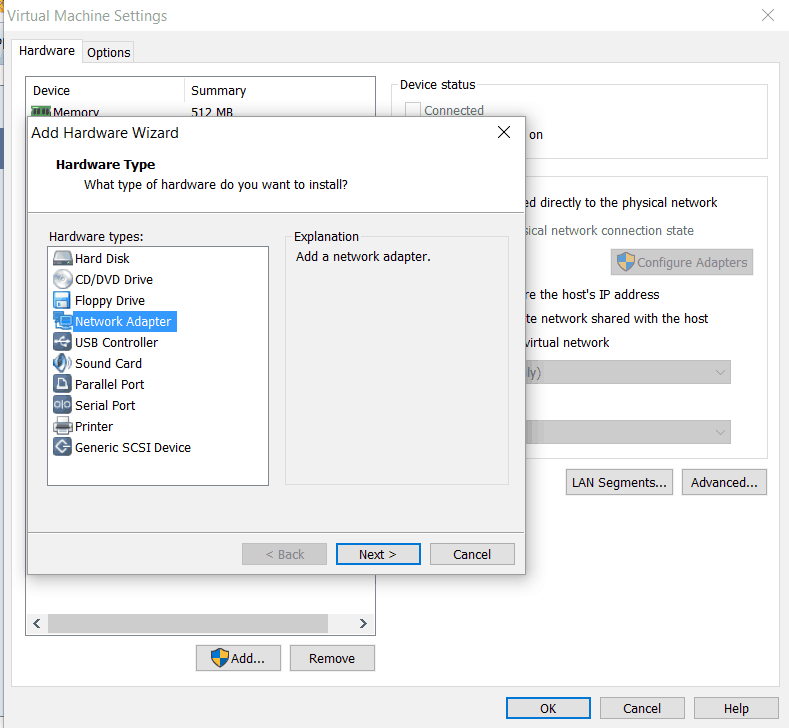
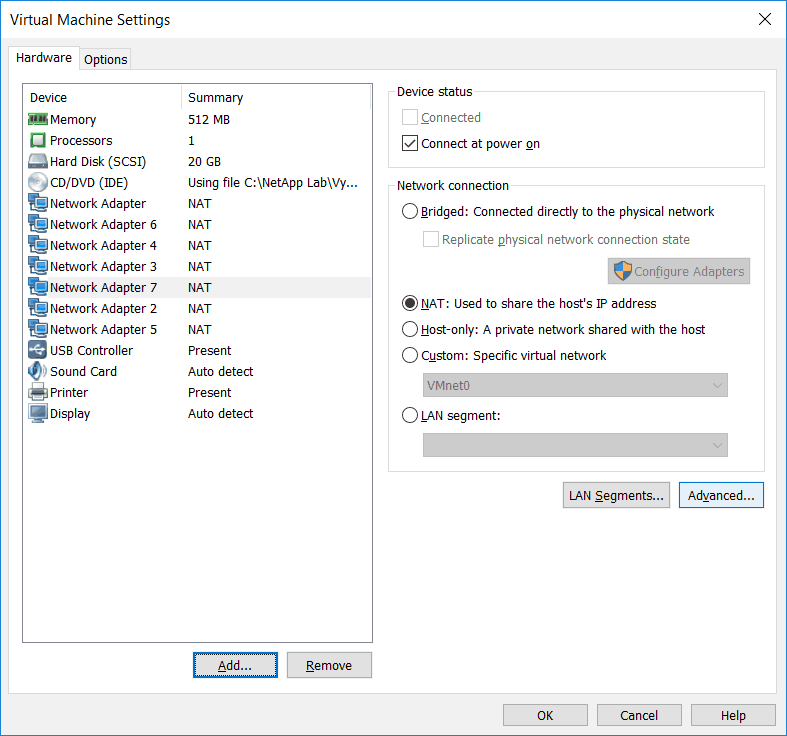
- This will add Network Adapter 2. Repeat 5 more times to add Network Adapters 3 to 7. Your virtual machine settings should look similar to below. The network adapters may be listed in a non-sequential order. Click OK.
- Click Edit Virtual Machine Settings again.

- The network adapters should now be listed in sequential order.
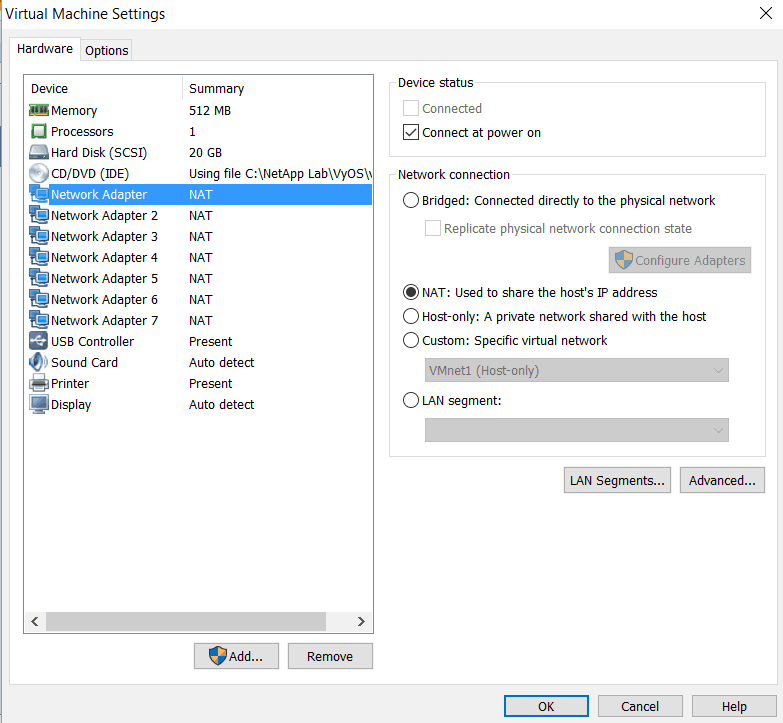
- Configure the network adapters according to the table below. To do this, select the network adapter then click ‘Custom’ and assign the correct network. Note the last two networks are VMnet 7 and 9, not 6 and 7.
| Adapter | Custom: Specific virtual network |
| 1 | VMnet1 |
| 2 | VMnet2 |
| 3 | VMnet3 |
| 4 | VMnet4 |
| 5 | VMnet5 |
| 6 | VMnet7 |
| 7 | VMnet9 |
- Click Player > Manage > Virtual Machine Settings… again to verify your settings are the same as shown below. Make sure each adapter has the correct VMnet setting. Click OK to close the Settings window.
- Click Play Virtual Machine to power on the router
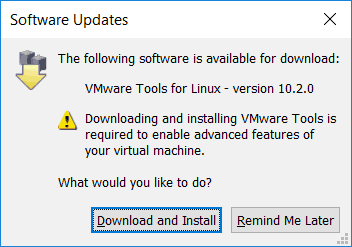
- Click Remind Me Later if prompted to download VMware Tools
- When the router boots up, click inside the virtual machine window with your mouse to make your keyboard active for the virtual machine. (Note that you need to press the Ctrl and Alt keys simultaneously to release the mouse when you want to return to your desktop.)
- Log in with username vyos and password vyos
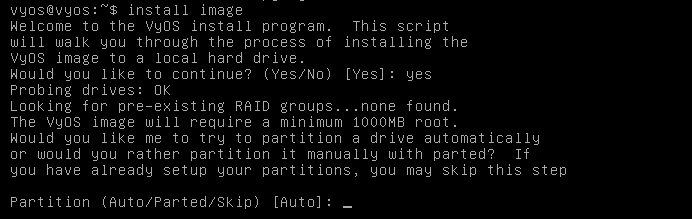
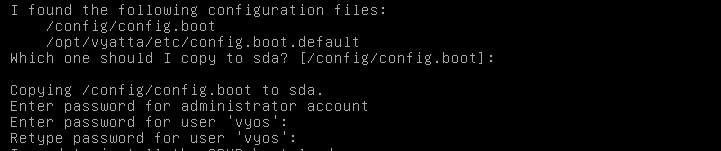
- The router is currently booting from the CD image, we need to install onto the virtual hard drive. Enter the command install image
- Type Yes when prompted to continue
- Hit the Enter key to accept the default Auto partition
- Hit the Enter key again to accept the default and install on sda
- Type Yes to continue
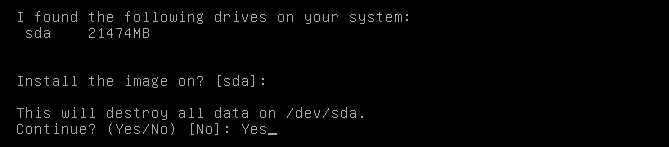
- Hit the Enter key again to accept the default and create the maximum root partition size
- Hit the Enter key again to accept the default image name

- Hit the Enter key again to accept the default and copy the /config/config.boot configuration file
- Enter and confirm the password Flackbox1 for the vyos admin user
- Hit the Enter key to accept the default and modify the boot partition on sda
- Type poweroff to shut down the system and yes when prompted to confirm

- When the virtual machine has completed its shutdown, reopen VMware Workstation Player, select the VyOS image and click Edit Virtual Machine Settings

- We now need to configure the router to boot from its hard disk rather than the CD. This will allow us to make a permanent configuration which will survive reboots.
- Click on CD/DVD (IDE), uncheck Connect at power on and select Use physical drive
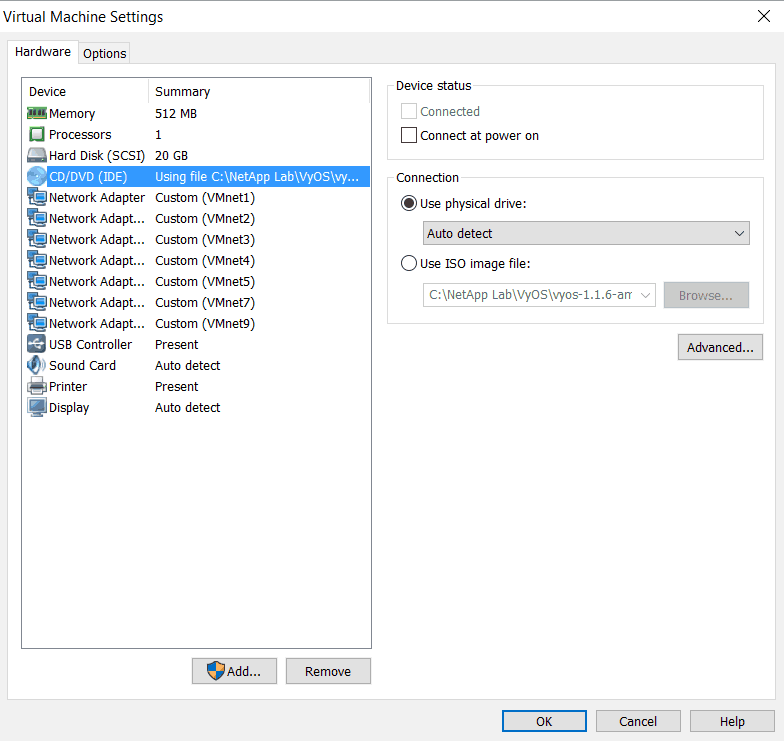
- Click OK and then Play virtual machine
- When the router boots up, login with the username vyos and password Flackbox1
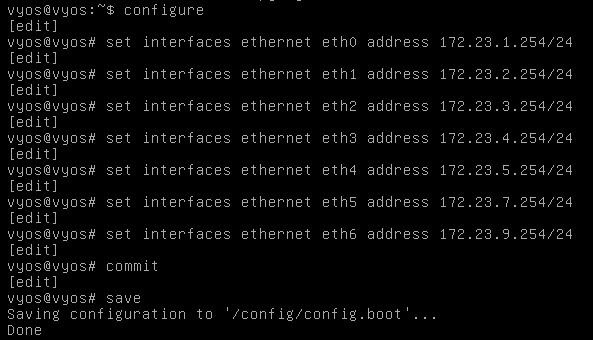
- Enter the command configure to enter configuration mode
- Configure the eth0 network interface with the command set interfaces ethernet eth0 address 172.23.1.254/24
- Repeat for the other interfaces according to the table below. Note the IP addresses for the last two interfaces are non-sequential. Be careful to configure the interfaces exactly as shown.
| Interface | IP Address |
| eth1 | 172.23.2.254/24 |
| eth2 | 172.23.3.254/24 |
| eth3 | 172.23.4.254/24 |
| eth4 | 172.23.5.254/24 |
| eth5 | 172.23.7.254/24 |
| eth6 | 172.23.9.254/24 |
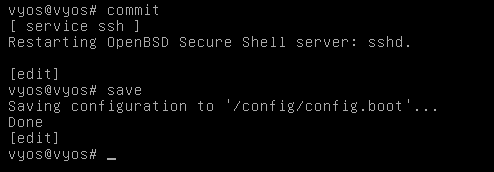
- Enter the commands set service ssh and set service ssh allow-root to enable SSH access.

- Enter the command commit to activate your changes.
- Enter the command save to make your changes persistent over a reboot.
- Hold down the Ctrl and Alt keys simultaneously to exit the virtual machine interface.
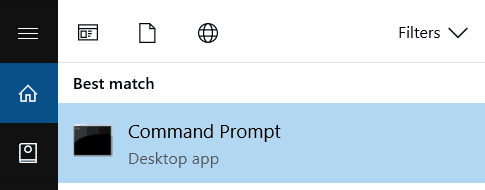
- Open a command prompt on your laptop by clicking the Windows button and then type cmd in the search box.
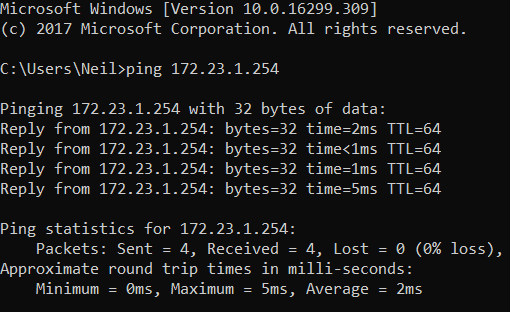
- Enter the command ping 172.23.1.254 to verify connectivity between your laptop and the VyOS router. If the ping fails then you have made a misconfiguration, start the lab setup again from Step 15 in the VMware Workstation Player Install section, being careful to configure everything exactly as shown.
- In VMware Workstation Player, click Player > Power > Suspend Guest to suspend the virtual machine. This will allow you to start it more quickly and reliably when you are ready to work with the lab than if you shut it down.
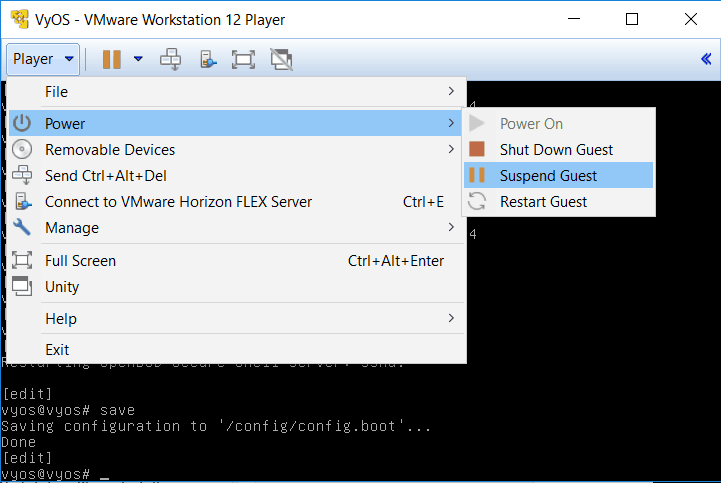
- Click Yes when asked to confirm.
- Optional step: If you are using VMware Workstation Pro this is a good time to take a snapshot of the virtual machine.
- Installation of the VyOS router is now complete. To start the VyOS virtual machine later, browse to the ‘NetApp Lab\VyOS’ folder and run the ‘VyOS.vmx’ file.
Do not forget to start the VyOS router for all lab exercises as it is essential for connectivity.

Click Here to get my 'NetApp ONTAP 9 Storage Complete' training course.
Joseph Dermody

I began working for NetApp in 2007, they should make your course a mandatory prerequisite for all of their engineers. The lectures are concise and to the point and the extensive catalog of content you provide is unrivaled.
Nothing I’ve come across will prepare someone for a NetApp certification like your one-stop-shop course.