I get asked quite regularly what the cool SSH client application I use in my videos is. SuperPutty runs on top of Putty and allows you to connect to the CLI of multiple devices in different tabs in the same window. This is much more convenient than having a separate window for each device, and the friendly names at the top of each tab make it less likely you’ll configure the wrong device by accident.
In this NetApp training tutorial, I will explain how to install SuperPutty, customize the interface and set up shortcuts to your devices. Read on for the step by step video and also text tutorial.
The devices connected to in the tutorial are from my ‘How to Build a NetApp ONTAP 9 Lab… for Free‘ eBook. You can download the eBook for free to set up the NetApp lab or easily adapt the instructions for your own environment.
You can download the eBook here.
And you can get the entire video series here.
VyOS Router Installation and Configuration – Video Tutorial

Kashif Ali

I have never seen any training course in Netapp the way Neil conducted this and the way he breaks down every concept is like watching a movie…I am feeling so motivated and pumped up to retain all this knowledge…thank you!
The steps to install and configure Putty and SuperPutty:
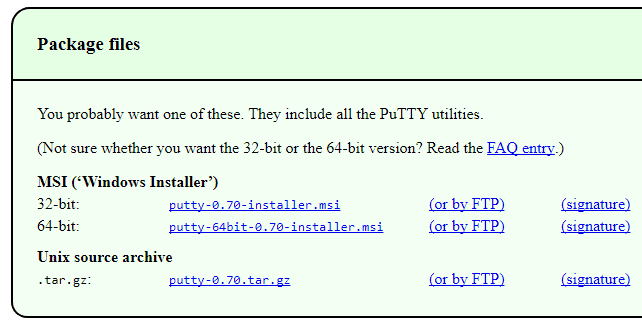
- Open the Putty downloads page at https://www.chiark.greenend.org.uk/~sgtatham/putty/latest.html in your browser
- Click on the link to download the Putty installer msi file
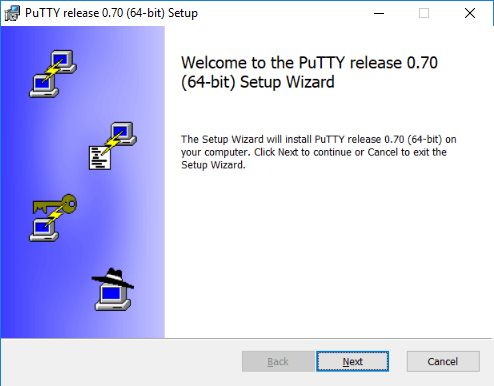
- Run the installer and click Next
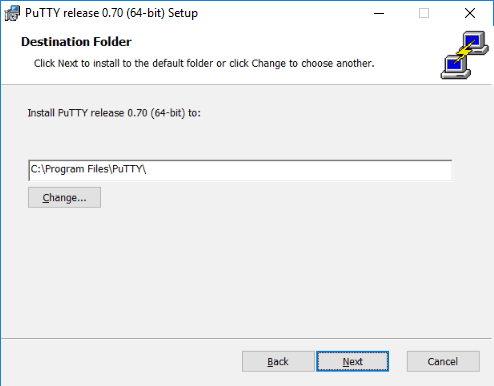
- Click Next to accept the default destination folder
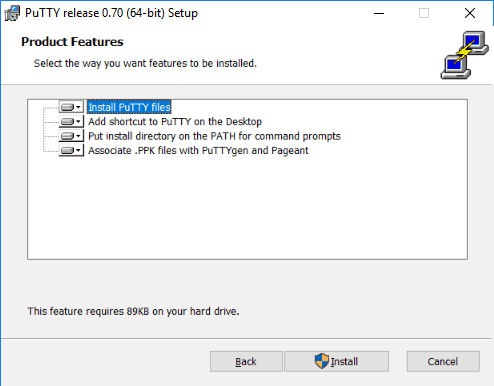
- Click Install
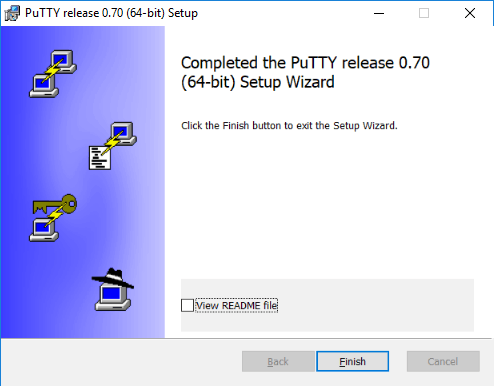
- Uncheck the View README file checkbox and click Finish
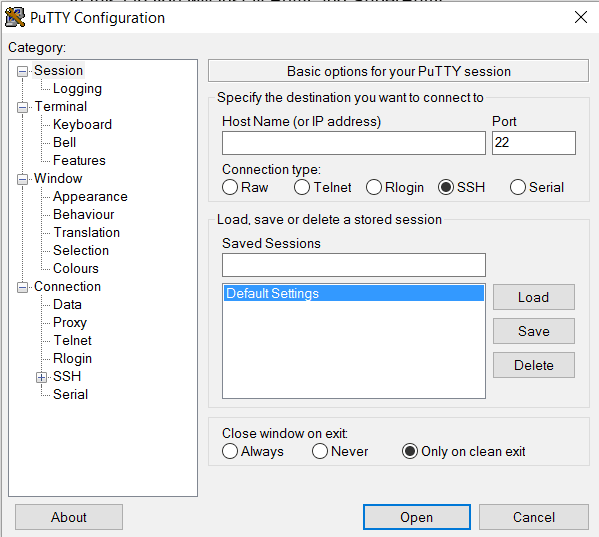
- Run Putty from the shortcut on your desktop
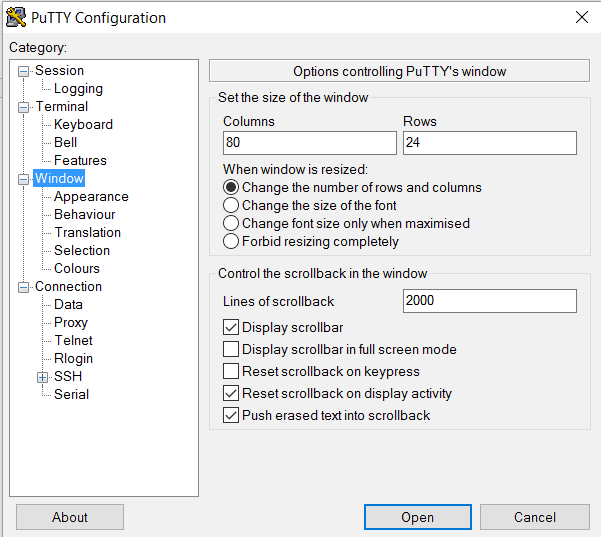
- Click on Default Settings and Load

- Click Window and set Lines of Scrollback to 2000
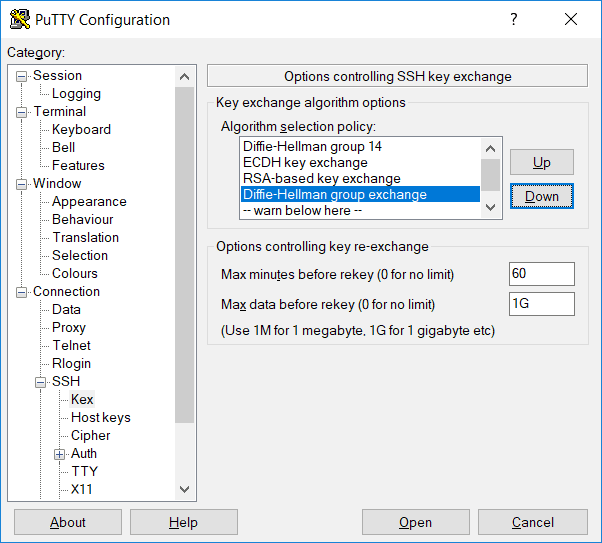
- Expand Connection and SSH and click on Kex. Move Diffie-Hellman Group 14 to the top of the list and Diffie-Hellman group exchange to one place above -- warn below here --
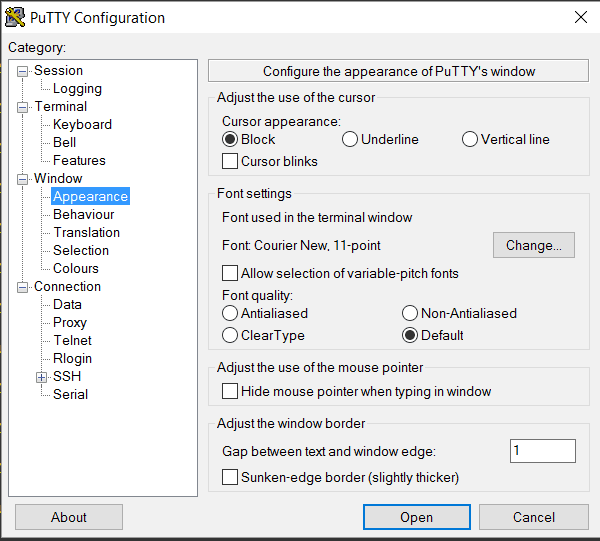
- Click on Appearance and Change if you want to change the font size or style.
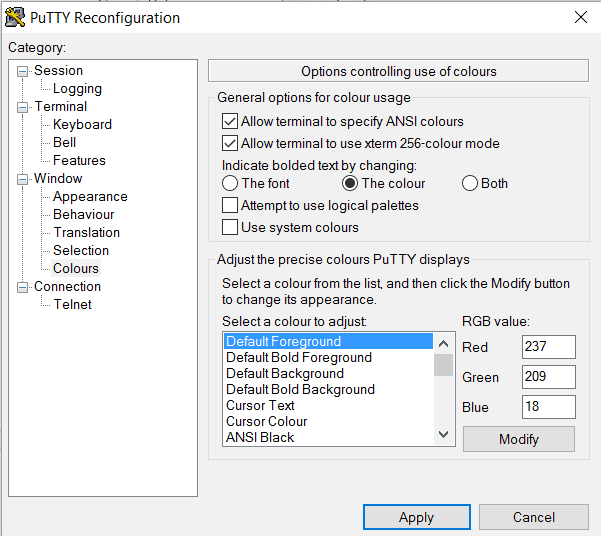
- Click on Colours and edit the Default Foreground and Default Background if you want to change the colour scheme.
- Click on Session then Default Settings and Save to save your changes
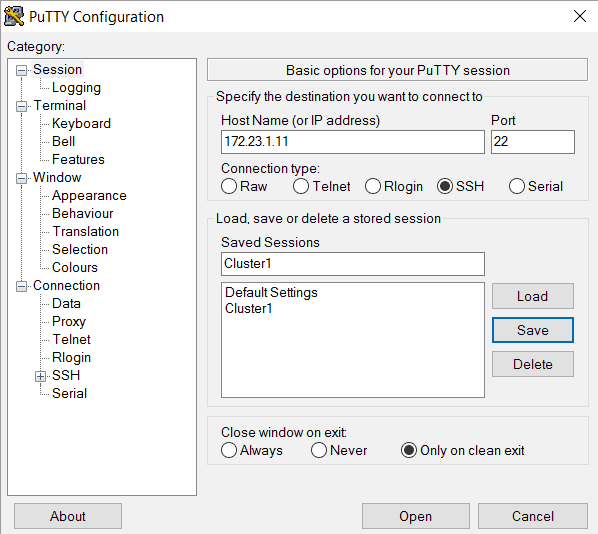
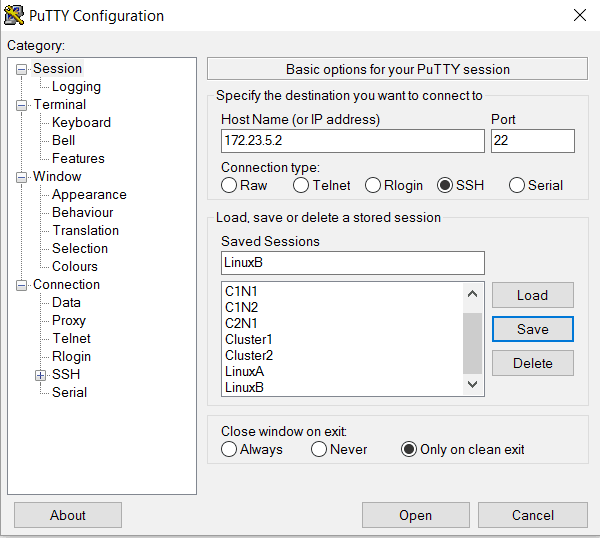
- Configure a shortcut for the Cluster 1 Management address.
On the Session page, enter the information below.
Host Name (or IP address): 172.23.1.11
Saved Sessions: Cluster1
Click Save
- Repeat to create six more shortcuts for the other hosts in the lab. Use the information from the table below.
| Host Name (or IP address) | Saved Session |
| 172.23.1.12 | C1N1 |
| 172.23.1.13 | C1N2 |
| 172.23.1.21 | Cluster2 |
| 172.23.1.22 | C2N1 |
| 172.23.4.2 | LinuxA |
| 172.23.5.2 | LinuxB |
- Your Saved Sessions should look like the picture below when you have finished creating the shortcuts.
- Next we’ll install SuperPutty which allows us to open SSH sessions to the lab virtual machines as multiple tabs in the same window. This is more convenient than opening multiple separate Putty windows.
- Open the GitHub SuperPutty download page at https://github.com/jimradford/superputty/releases in your browser
- In the Download section, click on the link to download the SuperPutty installation zip file

- Extract the SuperPutty folder from the zip file to your Documents folder

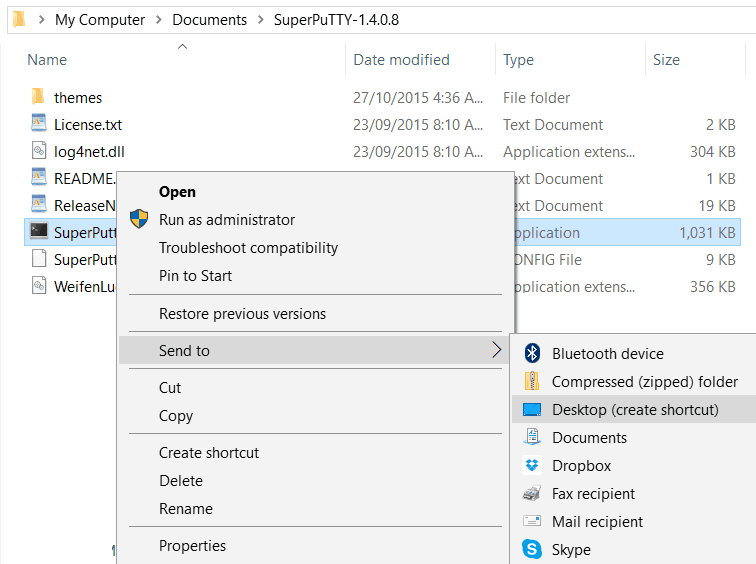
- Open the SuperPutty folder, right-click on superputty.exe and make a desktop shortcut to it.
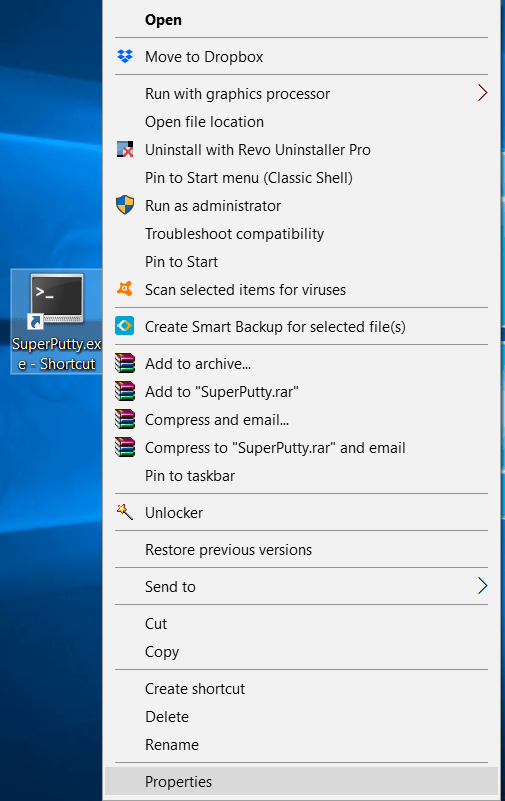
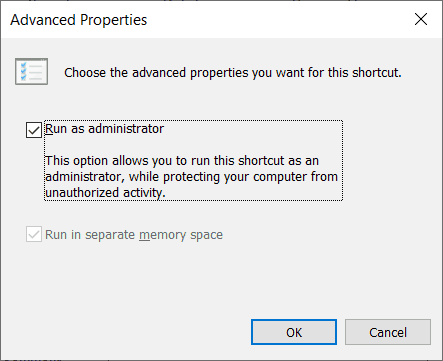
- Right-click on the SuperPutty shortcut on your desktop and select Properties
- Click on the Shortcut tab then Advanced
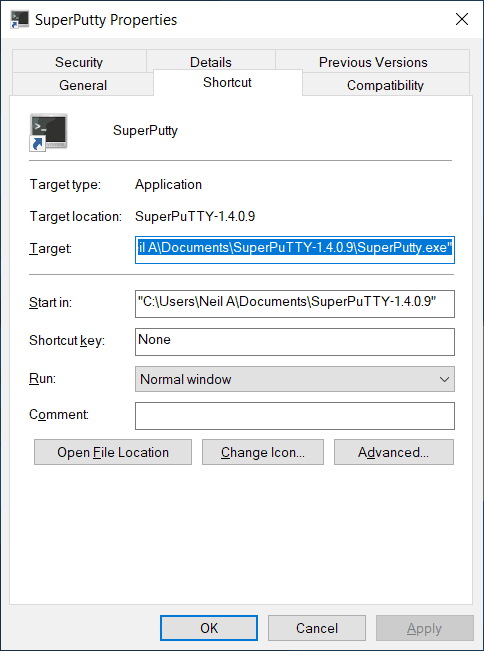
- Click the Run as administrator checkbox then OK and OK again to close the shortcut Properties window
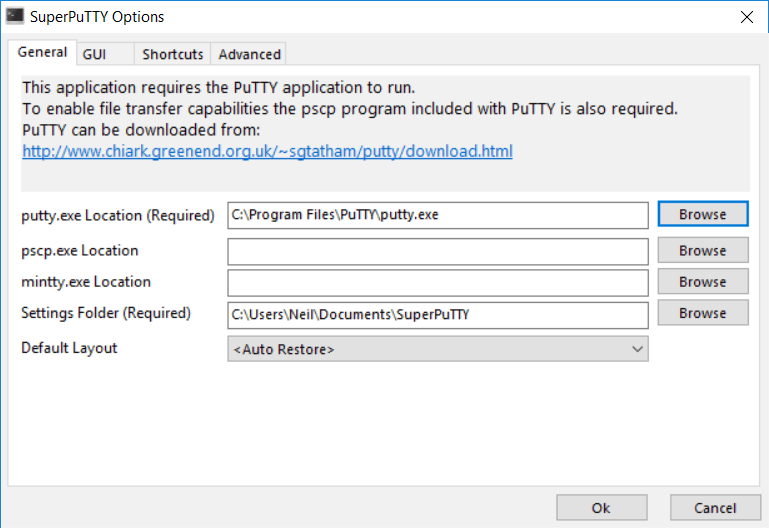
- Run superputty.exe from the desktop shortcut. The SuperPutty options window will open. Enter the path to the putty.exe location in your Program Files folder and click OK. You can leave the pscp.exe and mintty.exe locations blank.
- The SuperPutty main window will open. Click File > Import Sessions > From PuTTY Settings to import your Putty sessions. Click Yes when asked if you want to copy all sessions.

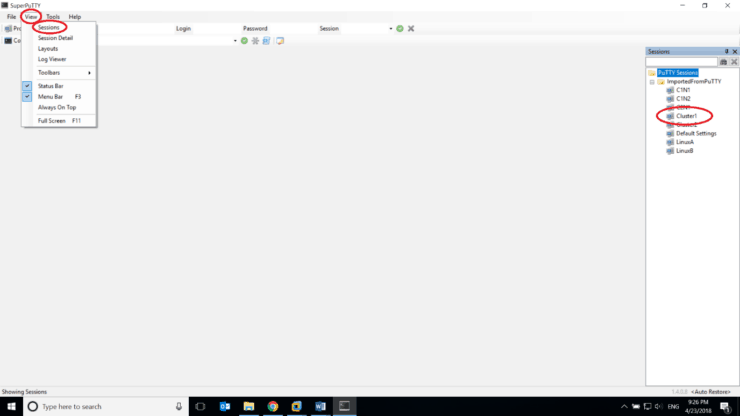
- Expand the Session window to see your saved sessions. If you cannot see the session window then click on View and then Sessions. You can double-click on sessions to open them up in multiple tabs in SuperPutty.
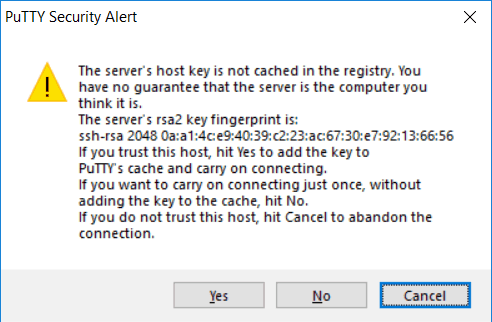
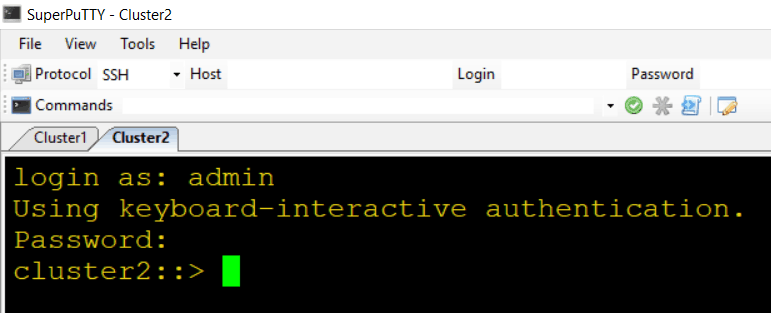
- Check that you can open the Putty sessions to NetApp Cluster 1 and Cluster 2 (make sure the NetApp virtual machines are running first). Click Yes to add the host keys to Putty’s cache.
- Log in with username admin and password Flackbox1 on both clusters.
- If the Putty session cannot connect, a common problem is that the cluster management logical interface is not on its home port. Enter network interface show in the VMware window to check.
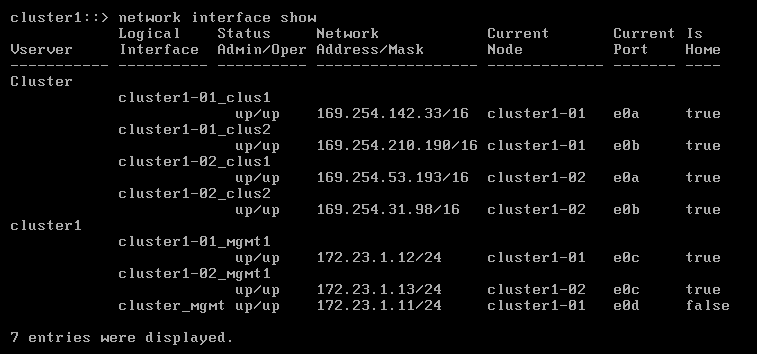
- If the cluster_mgmt LIF reports false for Is Home then run the network interface revert –vserver * command to revert it back to its home port. Connectivity should now be restored.


- Installation of Putty and SuperPutty is now complete.
- Run SuperPutty from the shortcut on your desktop when you want to connect to the virtual machines.
Click Here to get my 'NetApp ONTAP 9 Storage Complete' training course.
Wassel Mohammed

I have been in a couple of classroom Netapp Bootcamp trainings but this course is much better and in-depth. It takes you from the core to the nitty gritty.