In this NetApp training tutorial, you’ll learn about the different configuration options you can use for SAN thin provisioning and how things are going to differ depending on whether you’ve used the command line or the System Manager GUI. Scroll down for the video and also text tutorials.
NetApp SAN Thin Provisioning Settings Video Tutorial

Brad Dyke

I saw the writing on the wall about new technologies and wanted to transition to a new role as a storage / HCI cloud architect.
I used Flackbox.com classes to sync me up with ONTAP and passed my certs two days after completing your training, it took about six business days in total.
I got the job I wanted with CGI and it’s a great company to work for.
Provisioning Options
Different options are available for volume provisioning type, LUN space reservation and fractional reserve. You can use thick, semi-thick, or thin provisioning.
You should pick the option which fits the technical and business requirements of the workload. Different configurations, either thick, semi-thick, or thin can be used for different workloads within the same cluster.
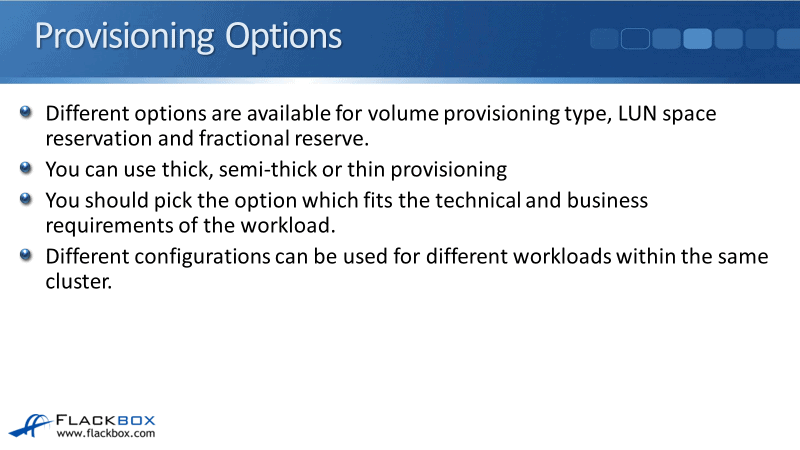
If you've got a workload that requires thick, then use thick for it. If you've got another workload where thin provisioning would be better, you can use thin provisioning for it. You can mix and match on the same cluster.
CLI Volume Settings
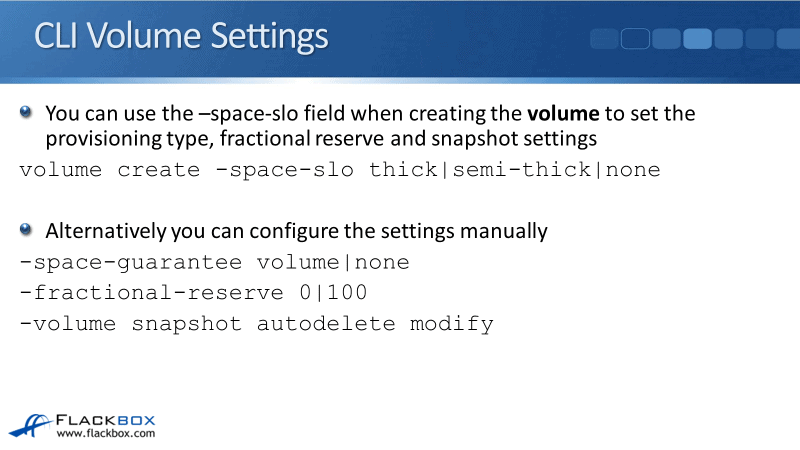
You can use the -space-slo (service level objective) field when creating the volume to set the provisioning type, fractional reserve, and snapshot settings. Most of the settings are configured at the volume level. At the LUN level, you need to see whether it is thick or thin provisioned. The command is:
volume create -space-slo thick|semi-thick|none
When you're creating the volume, you'll have all your other settings in there like the SVM, the volume name, the aggregate, the size, et cetera.
Alternatively, you can configure the settings manually. So again, when you do the volume create command, rather than -space-slo, you can set these commands:
-space-guarantee volume|none
-fractional reserve 0|100
-volume snapshot autodelete modify
So, you can configure voice command separately or you can use -space-slo, which will configure them all for you in one command.
Semi-Thick Provisioning
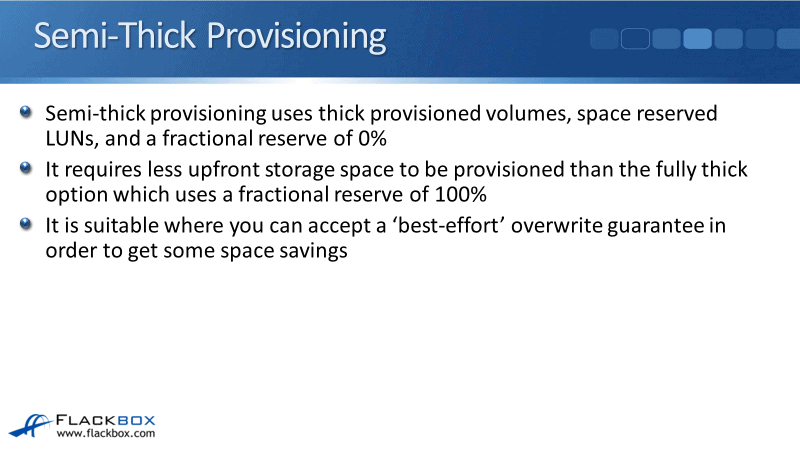
Semi-thick provisioning uses thick provision volumes, space reserved LUNs, and a fractional reserve of 0%. It does not reserve the space for your snapshots in the volume.
Because of that, it requires less upfront storage space to be provisioned than the fully thick option, which does use a fractional reserve of 100%.
Semi-thick provisioning is suitable where you can accept a ‘best-effort’ overwrite guarantee to get some space savings. So, this is genuinely the one that is preferred rather than thick which takes up a lot of extra space.
Semi-Thick ‘-space-slo semi-thick’
The settings that this will configure when you use -space-slo semi-thick. The volume space guarantee is volume, meaning it's thick provisioned.
The volume fractional reserve is 0%. Snapshot autodelete is enabled, the trigger is volume. So when the volume is starting to get full it will start aggressively deleting the oldest snapshots. It starts by deleting the oldest first.
The commitment is destroy, meaning it is going to aggressively delete all of the snapshots in the volume. Not just your normal snapshots that are used for your backup, also snapshots that are used for SnapMirror, SnapVault, etc.
The reason for this is we have to make sure that we do free up enough space so that we can do those overwrites.
For the other settings, volume autogrow is off. The primary space management is snap delete rather than autodelete because snap deletes the one that is enabled.
The snapshot reserve is set to 5% because that's the default when you create a volume at the command line. But best practice is that you should actually set this to 0% when you're using semi-thick. We want to have that guarantee for LUN overwrites, so we want to make sure that snapshots aren't taking up the space in the volume.
You can still take snapshots of the volume for your short term backup, but set the reserve to 0%. The snapshot policy will default to the default policy. You should configure this with your own snapshot policy that sets how many snapshots you want to take and how often you're going to be taking them.
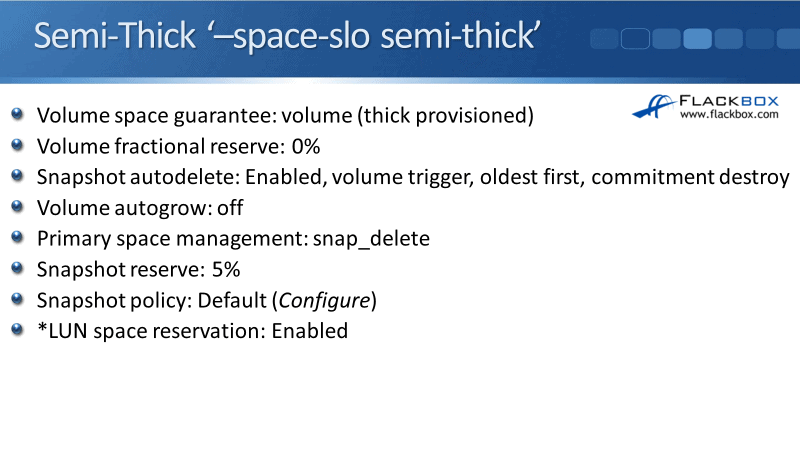
The LUN space reservation should be enabled. This is a separate command. When we use the -space-slo semi-thick, this is when we create the volume. We're going to create the LUN separately later in the next command. That's why I've to put an asterisk there.
When you create the LUN, you should set the space reservation to enabled. Meaning that the LUN is also thick provisioned, the same as the volume.
Semi-thick provisioning with Snapshot Autodelete allows easy monitoring of space utilization by monitoring at the volume level. So just keep an eye in your volumes and check that they are not filling up. Size of volumes to hold the LUNS and the snapshots plus some overhead.
If the volume does start to fill up, older Snapshot copies will be Autodeleted to allow the LUNS to remain online because we're still going to be able to write data to them.

You can optionally enable volume Autogrow, as well as Snapshot Autodelete. With Autogrow being tried first when the volumes get full. This decreases the chance of snapshots having to be autodeleted.
Having deleted snapshots is still a bad thing and we're taking the snapshots for the reason. We're taking them for our short and convenient short term backups. So we would prefer it if the snapshots are not deleted.

If you've got space in your aggregates for the volumes to grow, then you can enable volume Autogrow as well and use that first. Have Snapshot Autodelete enabled as well, as a fallback because we need to make sure that the volumes do not get full that we can still write data to the LUNs.
When we do also enable Autogrow the aggregate can now be automatically used as a dynamically shared pool of space because that volume Autogrow is enabled. Therefore, you've got extra space available there in your aggregate.
That space can be given to the volumes on a first come first serve basis. Whenever they need to grow, they will grow and start using extra space in the aggregate. The volumes compete for that aggregate space available.
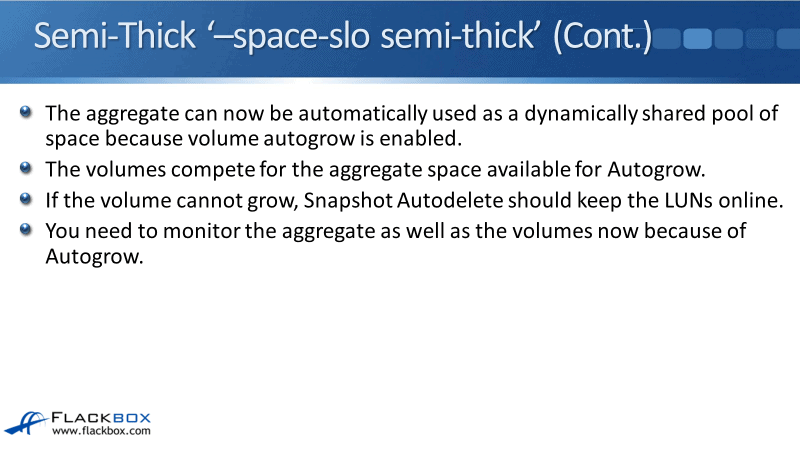
If the volume cannot grow because the aggregate is full or because you've reached the maximum value that you're allowing that volume to Autogrow to, then Snapshot Autodelete is also enabled and that should keep the LUNs online.
When you have got the volume Autogrow, as well as the Snapshot Autodelete enabled, you need to monitor the aggregate and the volumes as well. Because you're allowing your volumes to grow into aggregate, you also need to keep an eye and check if the aggregate is getting full.
Semi-Thick: Fractional Reserve 0%
ONTAP provides a best-effort write guarantee for volumes when the fractional reserve is set to zero and when all of the requirements are met. The only problem would be if somehow you're writing so much data so fast to the volume that it overruns the Snapshot Autodelete.
So as long as ONTAP can delete the snapshots fast enough to keep pace with the space required for overwrites, then the write operations continue to succeed.
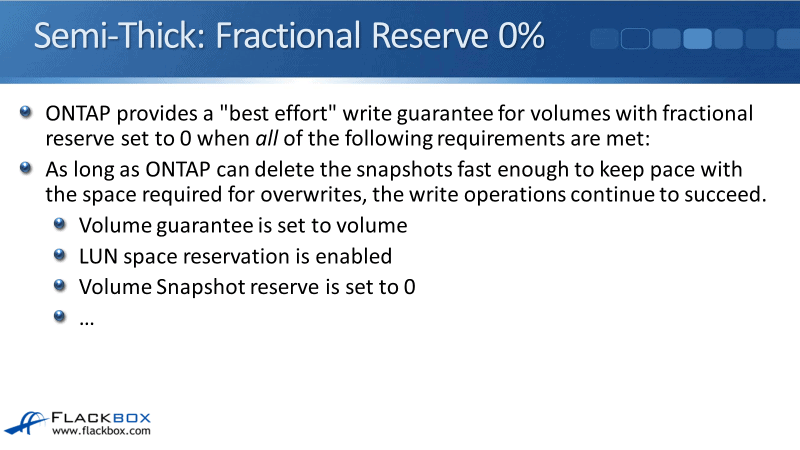
The requirements that you should have set when you're using semi-thick are:
- Volume guarantee is set to volume.
- LUN space reservation is enabled, so both volume and the LUN are thick provisioned,
- Volume Snapshot reserve is set to zero.
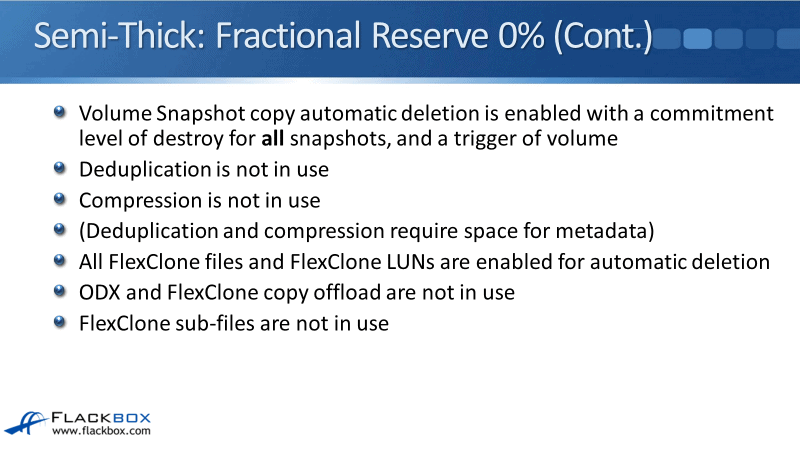
- Volume snapshot copy automatic deletion is enabled with a commitment level of destroy for all snapshots and trigger all volumes.
- Deduplication and compression are not in use. That's because they require some space for metadata.
- All FlexClone files and FlexClone LUNs are enabled for automatic deletion as well as your snapshots.
- ODX and FlexClone copy offload are not in use.
- FlexClone sub-files are not in use.
If you are using semi-thick, just ensure that you've got all of those settings configured as you would in there as well. Best practice.
Thick Provisioning: Fractional Reserve 100%
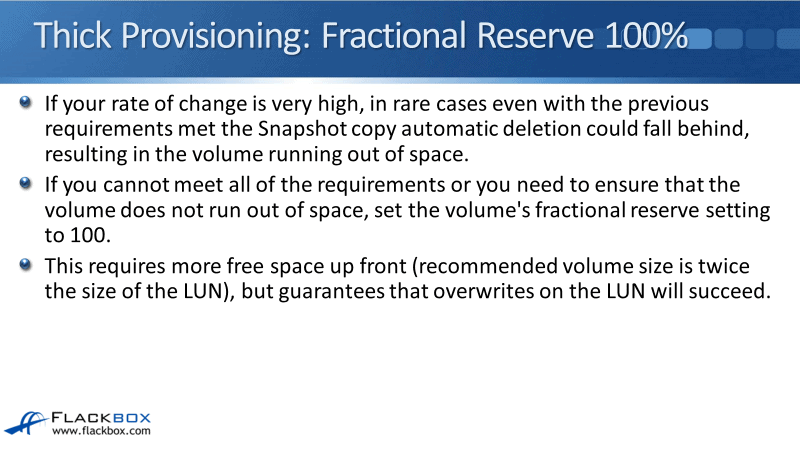
Moving on to thick provisioning now. If your rate of change in the LUN is very high, in rare cases, even with the previous requirements are met, the snapshot copy automatic deletion could fall behind resulting in the volume running out of space.
It's unlikely, but still possible. If you can't meet all of the requirements shown on semi-thick or you need to ensure that the volume 100% is not going to run out of space, then set the volumes fractional reserve setting to 100%.
This requires more fee space up front and the recommended size to set the volume to is twice the size of the LUN. However, it does guarantee the overwrites on the LUN will succeed.
We can configure this when we use volume create command at the command line with the -space-slo thick option. When you do that, it would have the following:
- Volume space guarantee is volume, meaning that the volume is thick provisioned.
- Volume fractional reserve is 100%. So that's the difference between this and semi-thick. With semi-thick, the fractional reserve is zero. With thick, the fractional reserve is a 100%.
- Snapshot Autodelete is disabled, but you can optionally enable it if you want to.
- Volume Autogrow is off. This can also be optionally enabled if you want to as well. If you do enable it, then made sure that you monitor the aggregate space utilization as well as the volume utilization.
- Primary space management is autogrow rather than snapshot autodelete.
- Snapshot reserve will be set to 5%
- Snapshot policy will be default
With this, you should set the snapshot policy to be as many snapshots you want to take and how often you want to take them. So configure your snapshot policy, check how much space your snapshots are taking up in the volume, and set the snapshot reserve to be a few percentage points above that.
Once you've configured your snapshots where you're taking and retaining as many as you want, if it turns out that that is using 11% space in the volume, then you would set the reserve to around 13%.
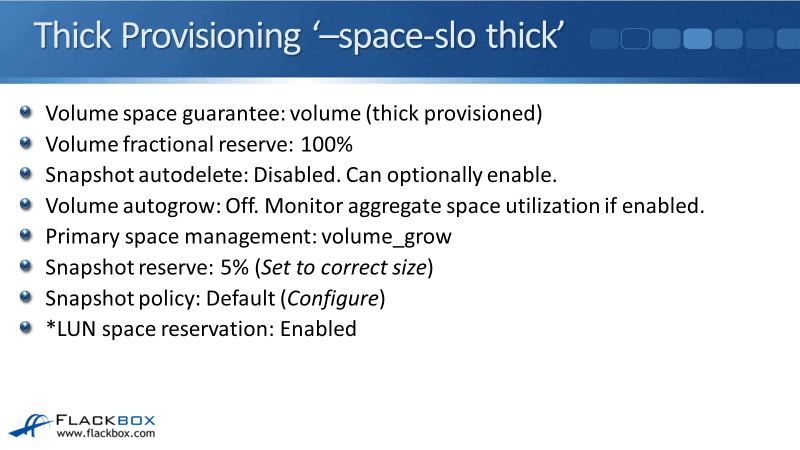
Again, this is a volume create command. You'll still need to create the LUN afterwards. When you do create the LUN, you should set the space reservation to enabled, meaning that the LUN is also a thick provisioned.
Default Settings
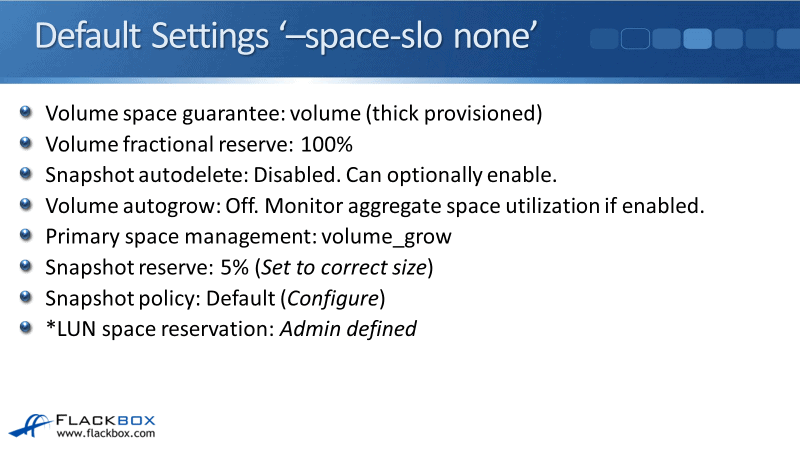
The other option we've got is -space-slo none, which just means that you're not saying a service level objective. So this actually uses the default settings:
- Volume space guarantee will be volume, meaning it's thick provisioned.
- Fractional reserve is a 100%
- Snapshot Autodelete is disabled
- Volume autogrow is off
- Primary space management is volume_grow
- Snapshot reserve is 5%
- Snapshot policy is default
- LUN space reservation will be whatever you configure it that as when you create the LUN.
Again as with the other options, you should configure your snapshots so that you're saving as many snapshots you want.
CLI Defaults
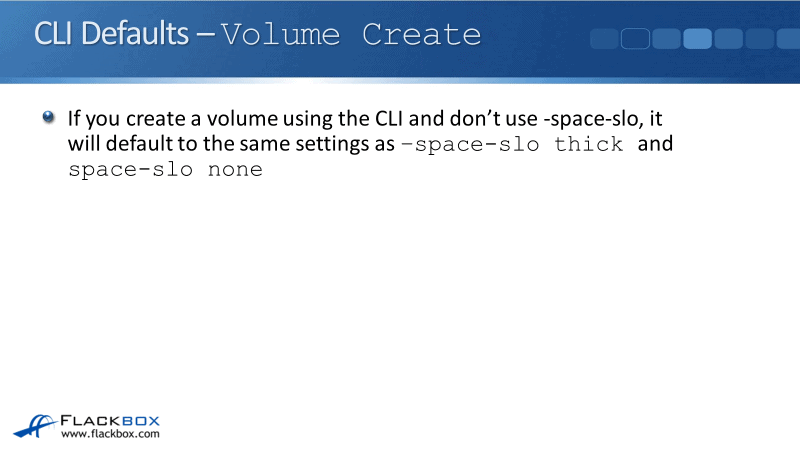
If you create a volume using the CLI manual configuration and don't use -space-slo, it will default to the same settings as -space-slo thick and -space-slo none.
This basically means is that -space-slo semi will give you that best effort LUN overwrite guarantee. However, -space-slo thick and -space-slo none don't really do anything because we're just using the default settings anyway.
Thin Provisioning
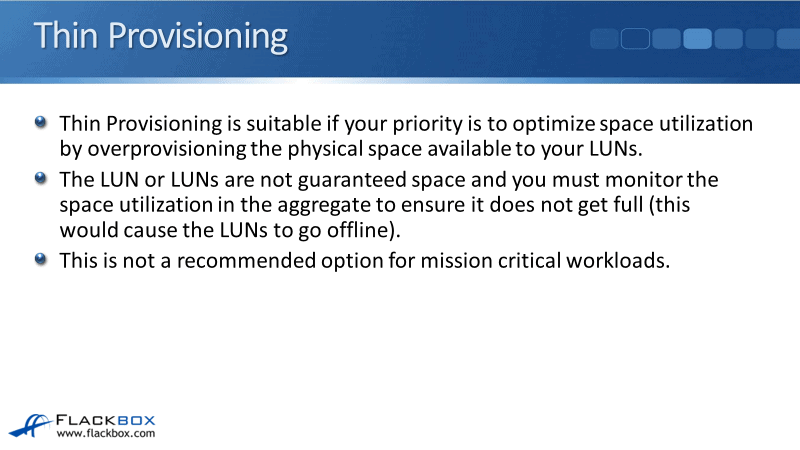
Thin provisioning is suitable if your priority is to optimize space utilization by over-provisioning the physical space available to your LUNs.
You can do that if you do not need to guarantee that space for the LUNs. The LUN or LUNs are not guaranteed space. Because of this, you're going to have to monitor the space utilization in the aggregate to ensure it does not get full.
If the aggregate or volume that's got LUNs in it gets full, then what happens is it takes the LUNs offline. Obviously, that is going to be a major issue if those are important LUNs. So, this is not a recommended option for mission-critical workloads.
There's a couple of different ways that you can configure thin provisioning. You're going to be doing them manually. You can either configure thin provision volumes with non-space-reserved LUNs, that's thin provisioning for both your volumes on your LUNs. Or you can thick provision your volumes and thin provision your LUNs.
Thin Provisioning Option 1
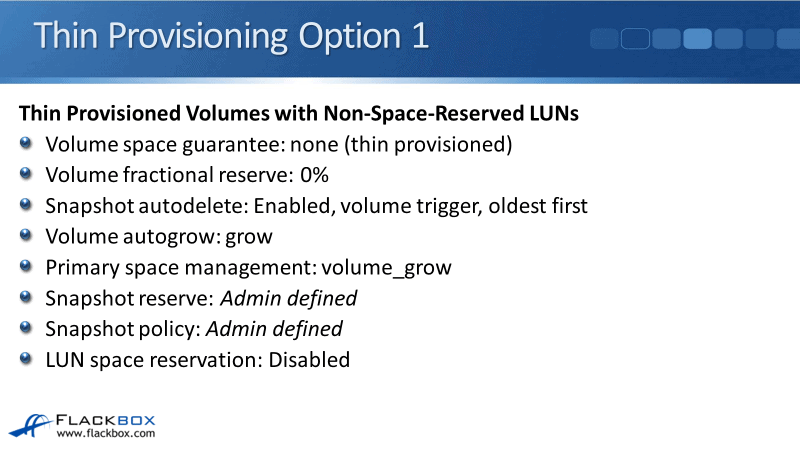
The first option is where we've got thin provisioning for both the volume and the LUN. When you're configuring this, you're going to configure it manually with the volume create command:
- Volume space guarantee of none, meaning it's thin provisioned the volume level
- Fractional reserve of 0%
- Snapshot Autodelete is enabled with volume trigger and oldest first
- Enable volume autogrow as well, and use autogrow as the first method.
If the volume is running out of space, the snapshot reserve and snapshot policy are going to be defined by you, the administrator with however many snapshots you want to take as your short term backups.
And the LUN space reservation is going to be disabled if the LUN is thin provisioned as well. So that was option one with thin and thin for both the volume and the LUN.
Thin Provisioning Option 2
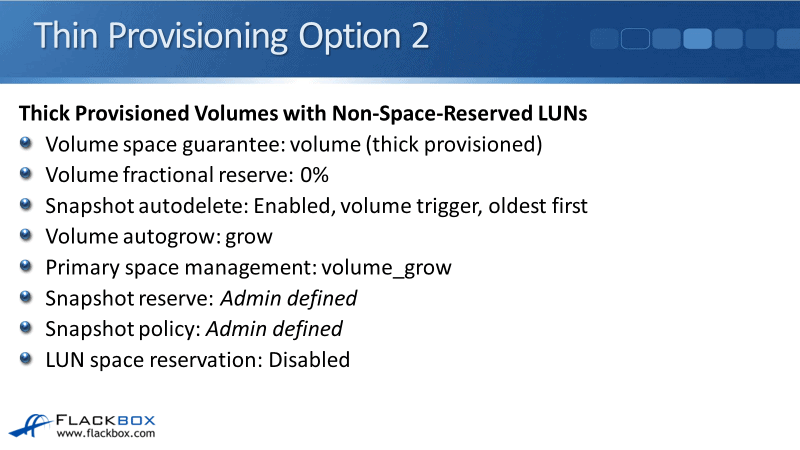
The second way that you can do it is with thick provisioned volumes and thin provisioned LUNs. The configuration settings to use here are:
- Volume space guarantee is volume thick provisioned
- Fractional reserve is zero
- Snapshot autodelete and autogrow are both enabled, with autogrow first. Configure your snapshots for how many you’d want to save.
- LUN space reservation again is going to be thin provisioned. It's going to be disabled.
Looking at the difference between when you use option two, the volume is thick provisioned and the LUN is thin provisioned.
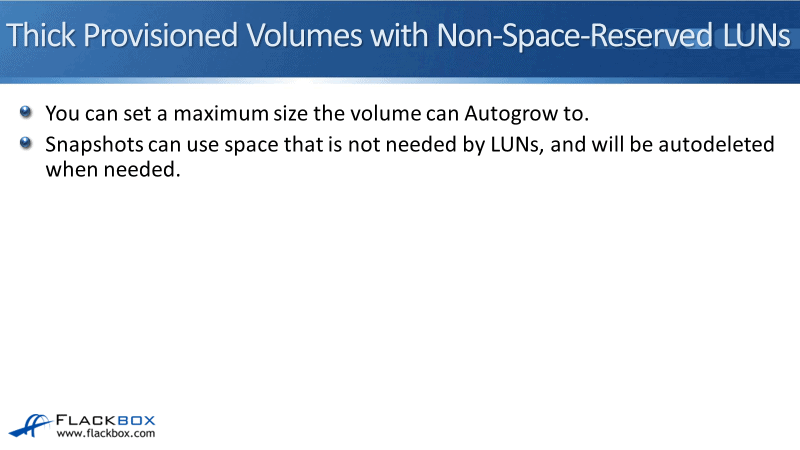
Thick Provisioned Volumes with Non-Space-Reserved LUNs
The LUNs will be allocated space on a first come first serve basis in the volume. They'll compete with each other on any other objects in the volume for space. You're over-provisioning the amount of space for your LUNs in the volume but the volume is guaranteed its space in the aggregate because it's thick provision.
If the rest of the aggregate becomes full, it does not affect the volume as long as the volume still has space. It's fine if the rest of the aggregate is full.
If you've still got space in the volume, that means you've got space and volume, and you've still got space in the aggregate as well because you've got that space remaining at the volume level.
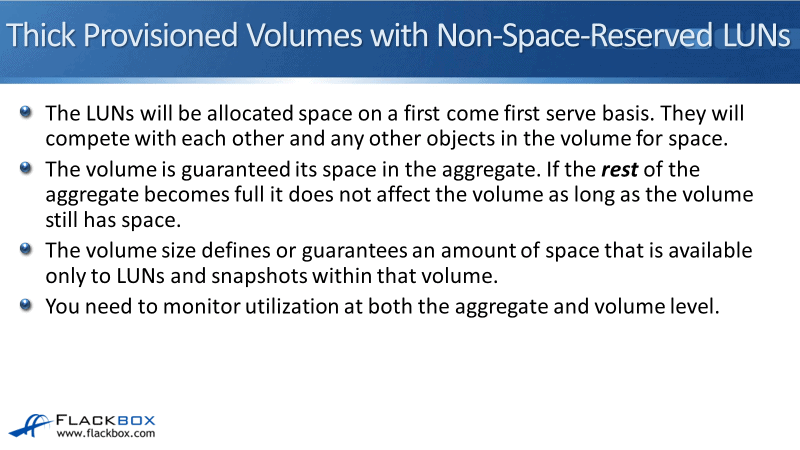
The volume size defines or guarantees an amount of space that is available only to LUNs on snapshots within that volume. When you use it, you need to monitor utilization at both the aggregate and the volume level.
Make sure that neither the aggregate nor volume gets full because that is going to bring your LUNs offline. You can set a maximum size that the volume can Autogrow to and snapshots can use space that is not needed by LUNs. They will be autodeleted when needed because Autogrow and snapshot autodelete are enabled.
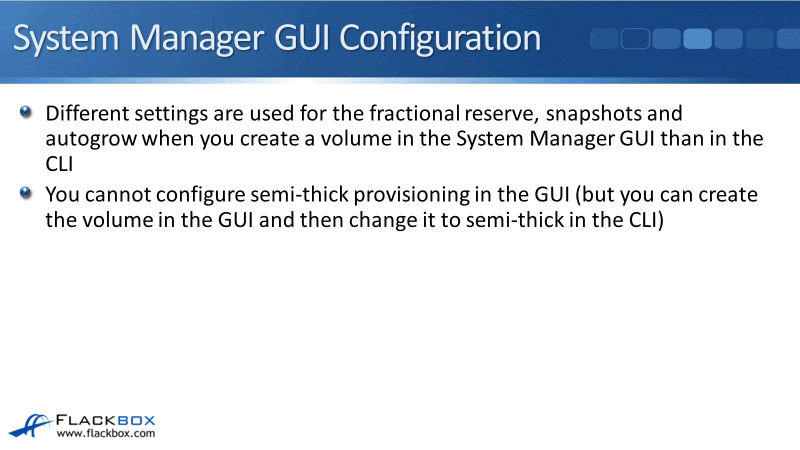
System Manager GUI Configuration
We can also use System Manager to create our volumes and our LUNs as well. When you do use a System Manager GUI, different settings are going to be used for the fractional reserve, snapshots, and Autogrow than when you use the command line.
When you use System Manager, another thing is that you cannot configure semi-thick provisioning in the GUI. You can either configure thick or thin, but the semi option is not there.
Now you could create a volume in the GUI and then change your settings in the command line to make it semi if you wanted to later. If you are going to do that, you might as well just have created it in the command line in the first place.
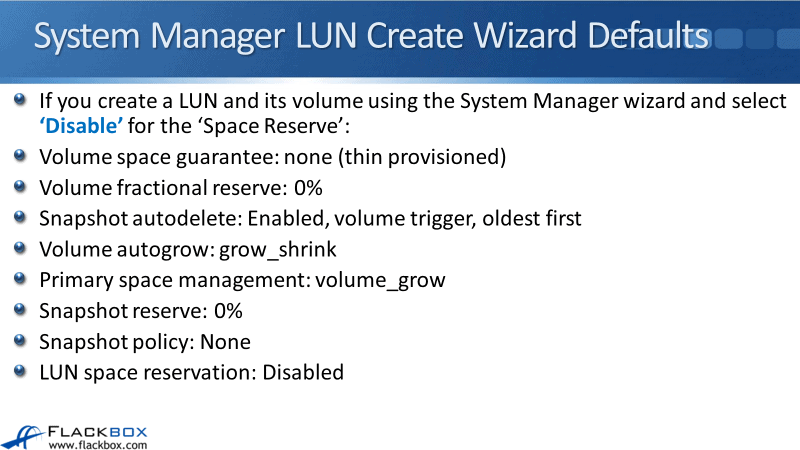
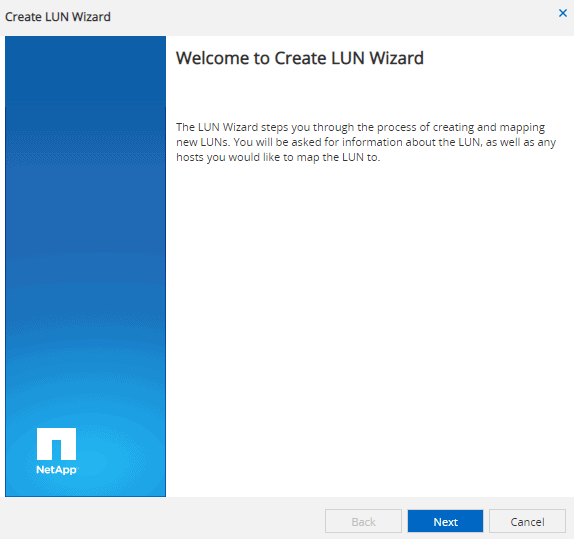
System Manager LUN Create Wizard Defaults
Let's look at what the settings are going to be set to if we create our volumes and our LUNs in System Manager. First off using the LUN create wizard, this is going to the LUN page on creating a LUN and its volume at the same time.
When you do that, if you select default or enable for the space reserve, this means that both the volume and the LUN are going to be thick provision because the default is thick. So the settings will be:
- Volume space guarantee is volume thick provisioned
- Fractional reserve is 100%
- Snapshot autodelete is enabled
- Autogrow is disabled
- Primary space management is autogrow
- Snapshot reserve is 0%
- Snapshot policy is none
- LUN space reservation is also enabled. It's also thick provisioned.
The settings that I've highlighted in bold there are different from the -space-slo thick option at the command line.
You see there that if you configure a thick provisioned volume at the command line, you're going to get different settings than if you configure a thick provisioned volume in the GUI.

Next up still using the LUN create wizard if you select disable for service space reserve. This is choosing to thin provision the volume and the LUN:
- Volume space guarantee will be none, thin provisioned
- Fractional reserve of 0%
- Snapshot autodelete is going to be enabled
- Volume autogrow is grow_shrink
- Primary space management is autogrow
- Snapshot reserves 0%
- Snapshot policy is none
- LUN space reservation will also be disabled.
Both volume on the LUN are thin provisioned. I can't compare this to the command line because the -space-slo command does not have an option for thin provisioning.
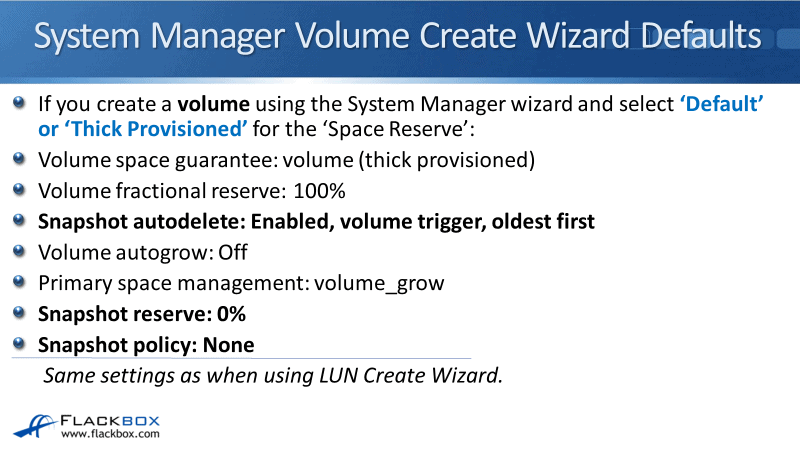
System Manager Volume Create Wizard Defaults
If you use the volume create wizard in the GUI, this would be where you go to the volume page. You create the volume there and then after that, you would have to create the LUN separately on the LUN page.
When you create the volume, if you select default or thick provisioned, the settings are:
- Volume space guarantee will be volume thick provisioned
- Fractional reserve is 100%
- Snapshot autodelete is enabled
- Autogrow is not enabled
- Priority space management is autogrow
- Snapshot reserve is 0%
- Snapshot policy is none
All the settings there are the same at the volume level as if you used the LUN create wizard at the GUI.
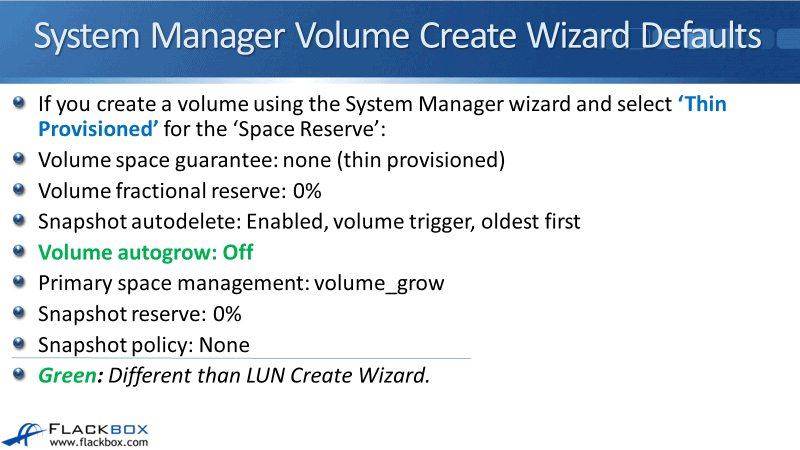
The last one to show you is if you use the volume wizard in System Manager and you select thin provisioned for the space reserve:
- Volume space guarantee will be none, thin provisioned
- Fractional reserve of zero
- Autodelete is enabled
- Volume autogrow is off
- Primary space management method is autogrow
- Snapshot reserve is 0%
- Snapshot policy is none.
Notice the one I've highlighted in green, the volume autogrow is off. So if you create a volume using the volume create wizard in the GUI and you select thin provisioned, volume autogrow is off.
If you use the LUN create wizard to create thin provisioned, then volume autogrow is on. You can see there that there are a whole bunch of different settings that are going to be configured depending on whether you use the System Manager or the command line.
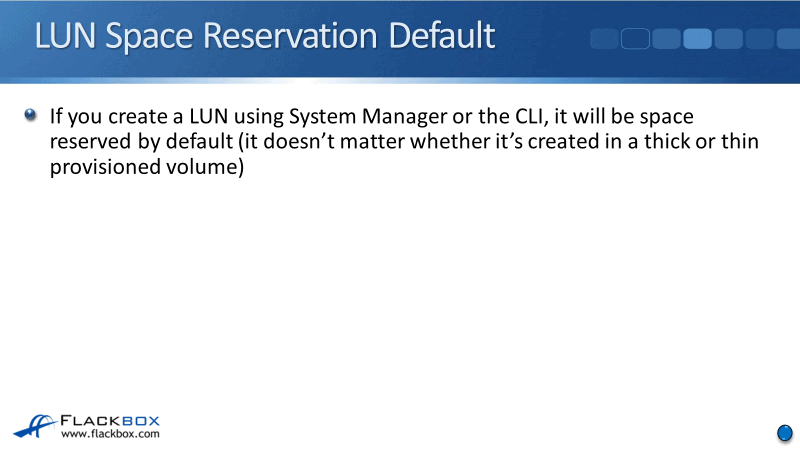
LUN Space Reservation Default
The last setting to tell you about is the LUN space reservation default. If you create a LUN using System Manager or the command line, it will be space reserved, meaning thick provisioned by default. It doesn't matter whether it's created in a thick or thin provisioned volume.
You're maybe wondering why did I go into all that detail about the different settings wherever you're using the command line or the GUI? Well, the thing is you might be working in an organization that's got different engineers working on the storage system.
You don't want different engineers using a different method to provision your LUNs because that could cause different settings. It is going to cause confusion, possibly unexpected results, and it's going to be difficult to troubleshoot as well.
So when you're provisioning LUNs, first off, decide what type of provisioning you're going to use. Which one is suitable for that particular workload. Is it thick or semi-thick or thin?
Then when you are provisioning your workloads, your organization should have a process in place that states how the LUNs are going to be provisioned to make sure that everybody's on the same page and everybody's doing it the same way.
SAN Thin Provisioning Configuration Example
This configuration example is an excerpt from my ‘NetApp ONTAP 9 Complete’ course. Full configuration examples using both the CLI and System Manager GUI are available in the course.
Want to practice this configuration for free on your laptop?
Download your free step-by-step guide ‘How to Build a NetApp ONTAP Lab for Free’
- Using the ONTAP CLI, create a new 500 MB volume in the SAN SVM named thick with a Space Service Level Objective of thick.
cluster1::> volume create -vserver SAN -volume thick -aggregate aggr1_C1N1 -size 500mb -space-slo thick
[Job 63] Job succeeded: Successful
2. Using the ONTAP CLI, create a 400 MB LUN also named thick in the thick volume. Use the recommended space reservation setting for the thick Space SLO. There is no need to set the client type or configure an initiator group for this lab exercise.
cluster1::> lun create -vserver SAN -volume thick -lun thick -size 400mb -ostype windows_2008 -space-reserve enabled
Created a LUN of size 400.1m (419489280)
3. What do you expect the volume settings below to be? Verify this.
Thick/thin provisioning: volume (thick)
Fractional reserve: 100%
Snapshot autodelete: Disabled
Volume autogrow: Off
Snapshot reserve: 5%
cluster1::> volume show -vserver SAN -volume thick -fields space-guarantee,fractional-reserve,autosize-mode,percent-snapshot-space
vserver volume autosize-mode space-guarantee fractional-reserve percent-snapshot-space
------- ------ ------------- --------------- ------------------ ----------------------
SAN thick off volume 100% 5%
cluster1::> volume snapshot autodelete show -vserver SAN -volume thick
Vserver Name: SAN
Volume Name: thick
Enabled: false
Commitment: try
Defer Delete: user_created
Delete Order: oldest_first
Defer Delete Prefix: (not specified)
Target Free Space: 20%
Trigger: volume
Destroy List: none
Is Constituent Volume: false
4. Using the ONTAP CLI, create a new 500 MB volume in the SAN SVM named semi with a Space Service Level Objective of semi-thick.
cluster1::> volume create -vserver SAN -volume semi -aggregate aggr1_C1N1 -size 500mb -space-slo semi
[Job 64] Job succeeded: Successful
5. Using the ONTAP CLI, create a 400 MB LUN also named semi in the semi volume. Use the recommended space reservation setting for the semi-thick Space SLO.
cluster1::> lun create -vserver SAN -volume semi -lun semi -size 400mb -ostype windows_2008 -space-reserve enabled
Created a LUN of size 400.1m (419489280)
6. What do you expect the volume settings below to be? Verify this.
Thick/thin provisioning: volume (thick)
Fractional reserve: 0%
Snapshot autodelete: Enabled, volume trigger oldest first, commitment destroy
Volume autogrow: Off
Snapshot reserve: 5%
cluster1::> volume show -vserver SAN -volume semi -fields space-guarantee,fractional-reserve,autosize-mode,percent-snapshot-space
vserver volume autosize-mode space-guarantee fractional-reserve percent-snapshot-space
------- ------ ------------- --------------- ------------------ ----------------------
SAN semi off volume 0% 5%
cluster1::> volume snapshot autodelete show -vserver SAN -volume semi
Vserver Name: SAN
Volume Name: semi
Enabled: true
Commitment: destroy
Defer Delete: none
Delete Order: oldest_first
Defer Delete Prefix: (not specified)
Target Free Space: 0%
Trigger: volume
Destroy List: lun_clone,vol_clone,cifs_share,file_clone
Is Constituent Volume: false
7. Set the snapshot reserve to 0% to meet the requirements for the best effort LUN write guarantee.
cluster1::> volume modify -vserver SAN -volume semi -percent-snapshot-space 0
Volume modify successful on volume semi of Vserver SAN.
8. Verify the change to the snapshot reserve.
cluster1::> volume show -vserver SAN -volume semi -fields space-guarantee,fractional-reserve,autosize-mode,percent-snapshot-space
vserver volume autosize-mode space-guarantee fractional-reserve percent-snapshot-space
------- ------ ------------- --------------- ------------------ ----------------------
SAN semi off volume 0% 0%
9. Using the ONTAP CLI, create a new 500 MB volume in the SAN SVM named none with a Space Service Level Objective of none.
cluster1::> volume create -vserver SAN -volume none -aggregate aggr1_C1N1 -size 500mb -space-slo none
[Job 65] Job succeeded: Successful
10. Using the ONTAP CLI, create a 400 MB LUN also named none in the none volume. Thin provision the LUN.
cluster1::> lun create -vserver SAN -volume none -lun none -size 400mb -ostype windows_2008 -space-reserve disabled
11. What do you expect the volume settings below to be? Verify this.
Thick/thin provisioning: volume (thick)
Fractional reserve: 100%
Snapshot autodelete: Disabled
Volume autogrow: Off
Snapshot reserve: 5%
cluster1::> volume show -vserver SAN -volume none -fields space-guarantee,fractional-reserve,autosize-mode,percent-snapshot-space
vserver volume autosize-mode space-guarantee fractional-reserve percent-snapshot-space
------- ------ ------------- --------------- ------------------ ----------------------
SAN none off volume 100% 5%
cluster1::> volume snapshot autodelete show -vserver SAN -volume none
Vserver Name: SAN
Volume Name: none
Enabled: false
Commitment: try
Defer Delete: user_created
Delete Order: oldest_first
Defer Delete Prefix: (not specified)
Target Free Space: 20%
Trigger: volume
Destroy List: none
Is Constituent Volume: false
12. Using the ONTAP CLI, create a new 500 MB thick provisioned volume in the SAN SVM named thickvol_thinlun.
Configure these settings on the volume:
-
- Volume fractional reserve: 0%
- Snapshot autodelete: Enabled, volume trigger, oldest first
- Volume autogrow: grow
- Primary space management: Autogrow
- Snapshot reserve: 12%
cluster1::> volume create -vserver SAN -volume thickvol_thinlun -aggregate aggr2_C1N1 -size 500mb -space-guarantee volume -autosize-mode grow -percent-snapshot-space 12
[Job 73] Job succeeded: Successful
cluster1::> volume modify -vserver SAN -volume thickvol_thinlun -fractional-reserve 0
Volume modify successful on volume thickvol_thinlun of Vserver SAN.
cluster1::> volume snapshot autodelete modify -vserver SAN -volume thickvol_thinlun -enabled true
Volume modify successful on volume thickvol_thinlun of Vserver SAN.
cluster1::> volume modify -vserver SAN -volume thickvol_thinlun -space-mgmt-try-first volume_grow
Volume modify successful on volume thickvol_thinlun of Vserver SAN.
13. Using the ONTAP CLI, create a 400 MB LUN for a Windows 2008 or later host also named thickvol_thinlun in the thickvol_thinlun volume. Thin provision the LUN.
cluster1::> lun create -vserver SAN -volume thickvol_thinlun -lun thickvol_thinlun -size 400mb -ostype windows_2008 -space-reserve disabled
Created a LUN of size 400.1m (419489280)
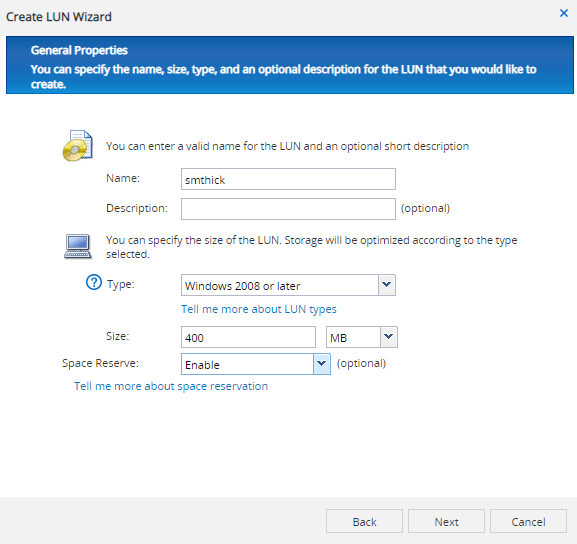
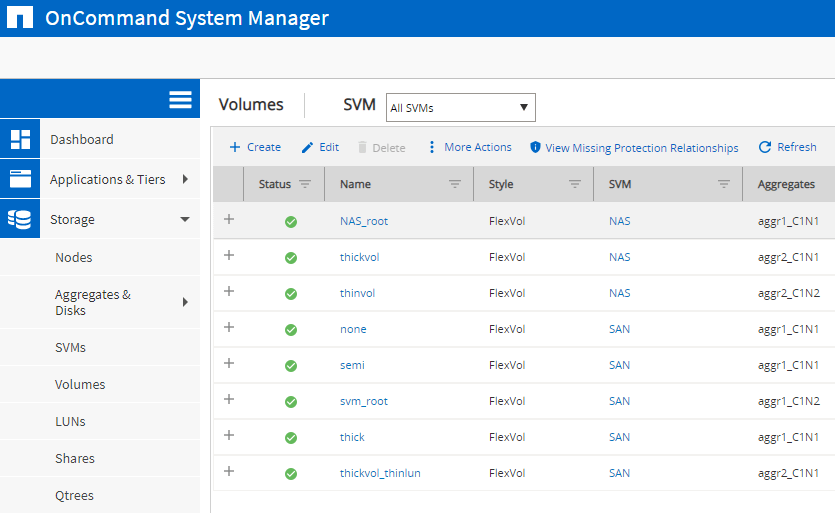
14. Using the System Manager GUI, create a new thick provisioned 500 MB volume in the SAN SVM named smthick.
‘Storage > Volumes > Create’

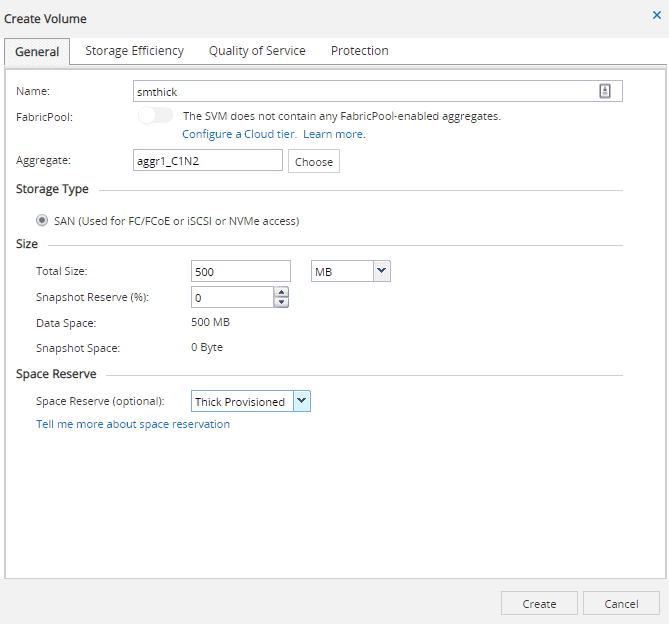
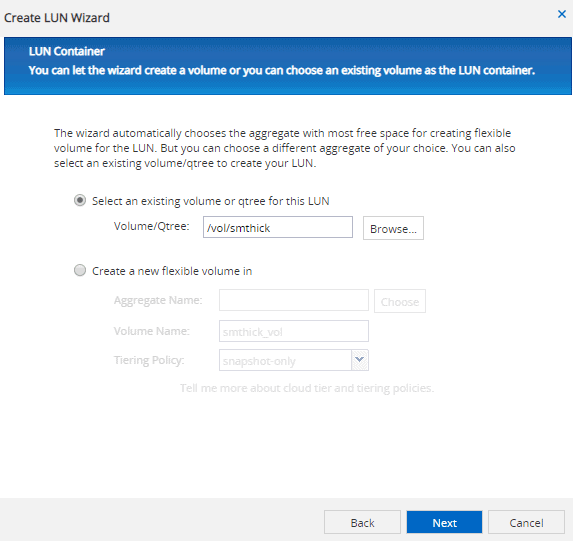
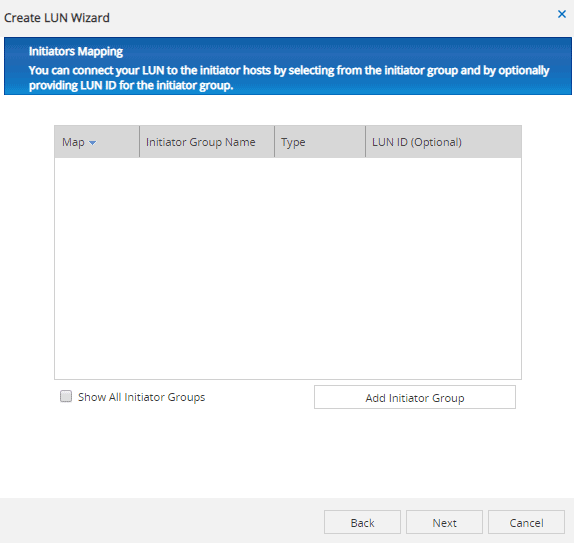
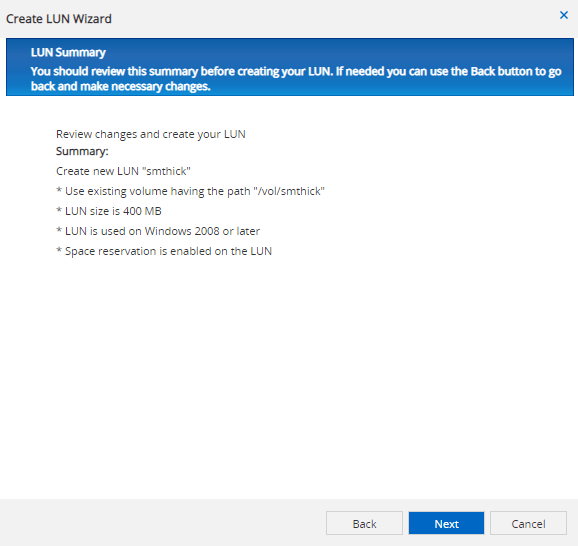
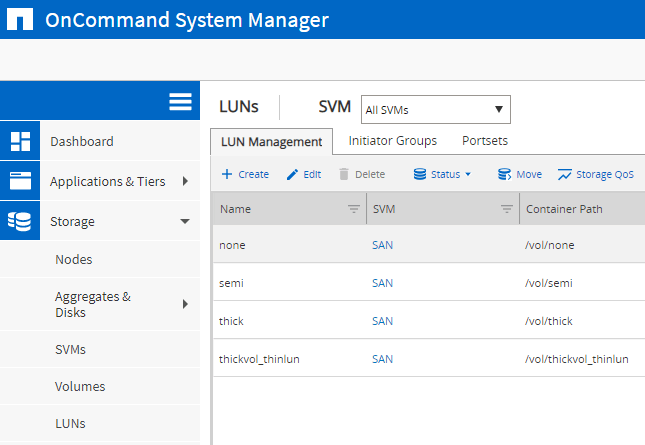
15. Using the System Manager GUI, create a thick provisioned 400 MB LUN for a Windows 2008 or later client also named smthick in the smthick volume. There is no need to configure an initiator group for this lab exercise.
‘Storage > LUNs > Create’


16. What do you expect the volume settings below to be? Verify this.
Thick/thin provisioning: volume (thick)
Fractional reserve: 100%
Snapshot autodelete: Enabled, volume trigger, oldest first
Volume autogrow: Off
Snapshot reserve: 0%
cluster1::> volume show -vserver SAN -volume smthick -fields space-guarantee,fractional-reserve,autosize-mode,percent-snapshot-space
vserver volume autosize-mode space-guarantee fractional-reserve percent-snapshot-space
------- ------- ------------- --------------- ------------------ ----------------------
SAN smthick off volume 100% 0%
cluster1::> volume snapshot autodelete show -vserver SAN -volume smthick
Vserver Name: SAN
Volume Name: smthick
Enabled: true
Commitment: try
Defer Delete: user_created
Delete Order: oldest_first
Defer Delete Prefix: (not specified)
Target Free Space: 20%
Trigger: volume
Destroy List: none
Is Constituent Volume: false
17. Using the System Manager GUI, create a new thin provisioned 500 MB volume in the SAN SVM named smthin.
‘Storage > Volumes > Create’
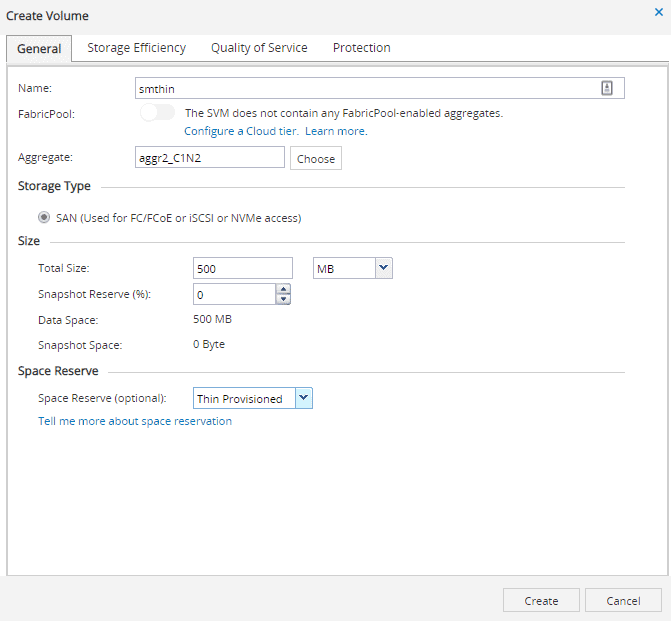
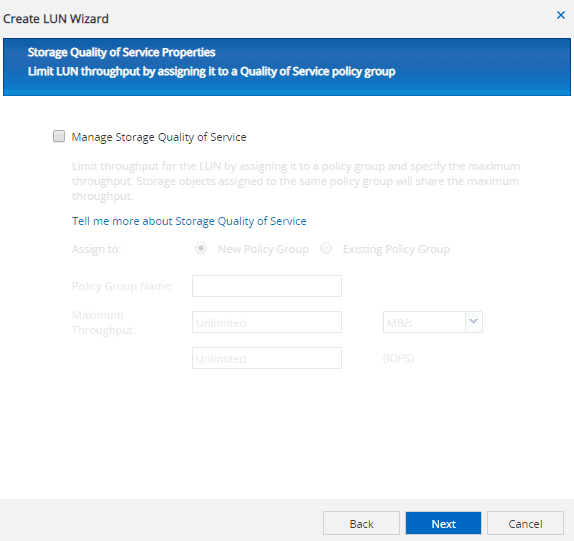
18. Using the System Manager GUI, create a thin provisioned 400 MB LUN for a Windows 2008 or later client also named smthin in the smthin volume. There is no need to configure an initiator group for this lab exercise.
‘Storage > LUNs > Create’
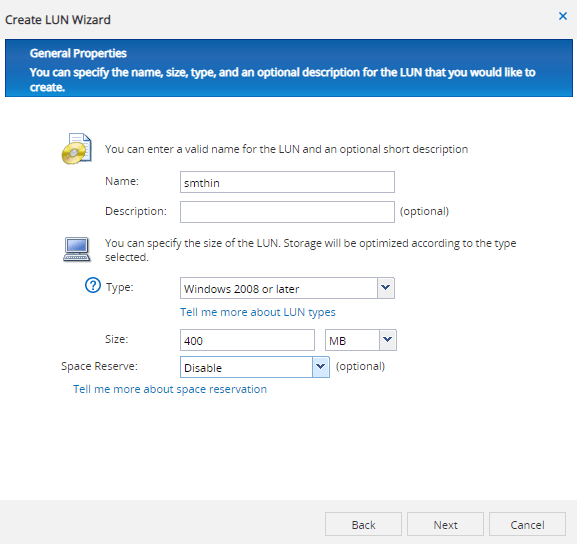


19. What do you expect the volume settings below to be? Verify this.
Thick/thin provisioning: none (thin)
Fractional reserve: 0%
Snapshot autodelete: Enabled, volume trigger, oldest first
Volume autogrow: Off
Snapshot reserve: 0%
cluster1::> volume show -vserver SAN -volume smthin -fields space-guarantee,fractional-reserve,autosize-mode,percent-snapshot-space
vserver volume autosize-mode space-guarantee fractional-reserve percent-snapshot-space
------- ------ ------------- --------------- ------------------ ----------------------
SAN smthin off none 0% 0%
cluster1::> volume snapshot autodelete show -vserver SAN -volume smthin
Vserver Name: SAN
Volume Name: smthin
Enabled: true
Commitment: try
Defer Delete: user_created
Delete Order: oldest_first
Defer Delete Prefix: (not specified)
Target Free Space: 20%
Trigger: volume
Destroy List: none
Is Constituent Volume: false
20. On the thin provisioned LUN smthin you just created, enable space reclamation.
If space reclamation is not enabled when the LUN is created, the LUN needs to be brought offline to enable it. Bring the LUN back online once enabled.
cluster1::> lun modify -vserver SAN -volume smthin -lun smthin -state offline
Warning: Are you sure you want to take LUN "/vol/smthin/smthin" in Vserver "SAN" offline? {y|n}: y
cluster1::> lun modify -vserver SAN -volume smthin -lun smthin -space-allocation enabled
cluster1::> lun modify -vserver SAN -volume smthin -lun smthin -state online
Additional Resources
About SAN Volumes Overview: https://docs.netapp.com/us-en/ontap/san-admin/san-volumes-concept.html
Back to Basics: NetApp Thin Provisioning: https://community.netapp.com/t5/Tech-ONTAP-Articles/Back-to-Basics-NetApp-Thin-Provisioning/ta-p/85931
Click Here to get my 'NetApp ONTAP 9 Storage Complete' training course.
Libby Teofilo

Text by Libby Teofilo, Technical Writer at www.flackbox.com
Libby’s passion for technology drives her to constantly learn and share her insights. When she’s not immersed in the tech world, she’s either lost in a good book with a cup of coffee or out exploring on her next adventure. Always curious, always inspired.