In this NetApp tutorial, you’re going to learn about Application Aware Data Management and Balanced Placement. This is an application-driven process that you can use, which will automate a lot of that work for you. Scroll down for the video and also text tutorial.
NetApp AADM and Balanced Placement Video Tutorial
Charles Lawton

Just completed NetApp Storage training! I found the instructor Neil Anderson to be amazing. He’s extremely competent, has spent time in the industry, and knows the platform very well. He colors the materials with some real world examples, which is always helpful to understand the differences between doing something in the lab and doing it in the real world.
I manage several NetApp arrays, and found myself going to the real platform to see how we’ve implemented the concepts presented here. Very happy I picked up this course!
The traditional way to provision NetApp storage is one component at a time. For example, if you are going to configure your storage for Windows file shares, you would create your SVM and then your volumes, and then you would configure your shares. If you require a particular performance level, you would also configure storage QoS as well.
Application Aware Data Management and Balanced Placement
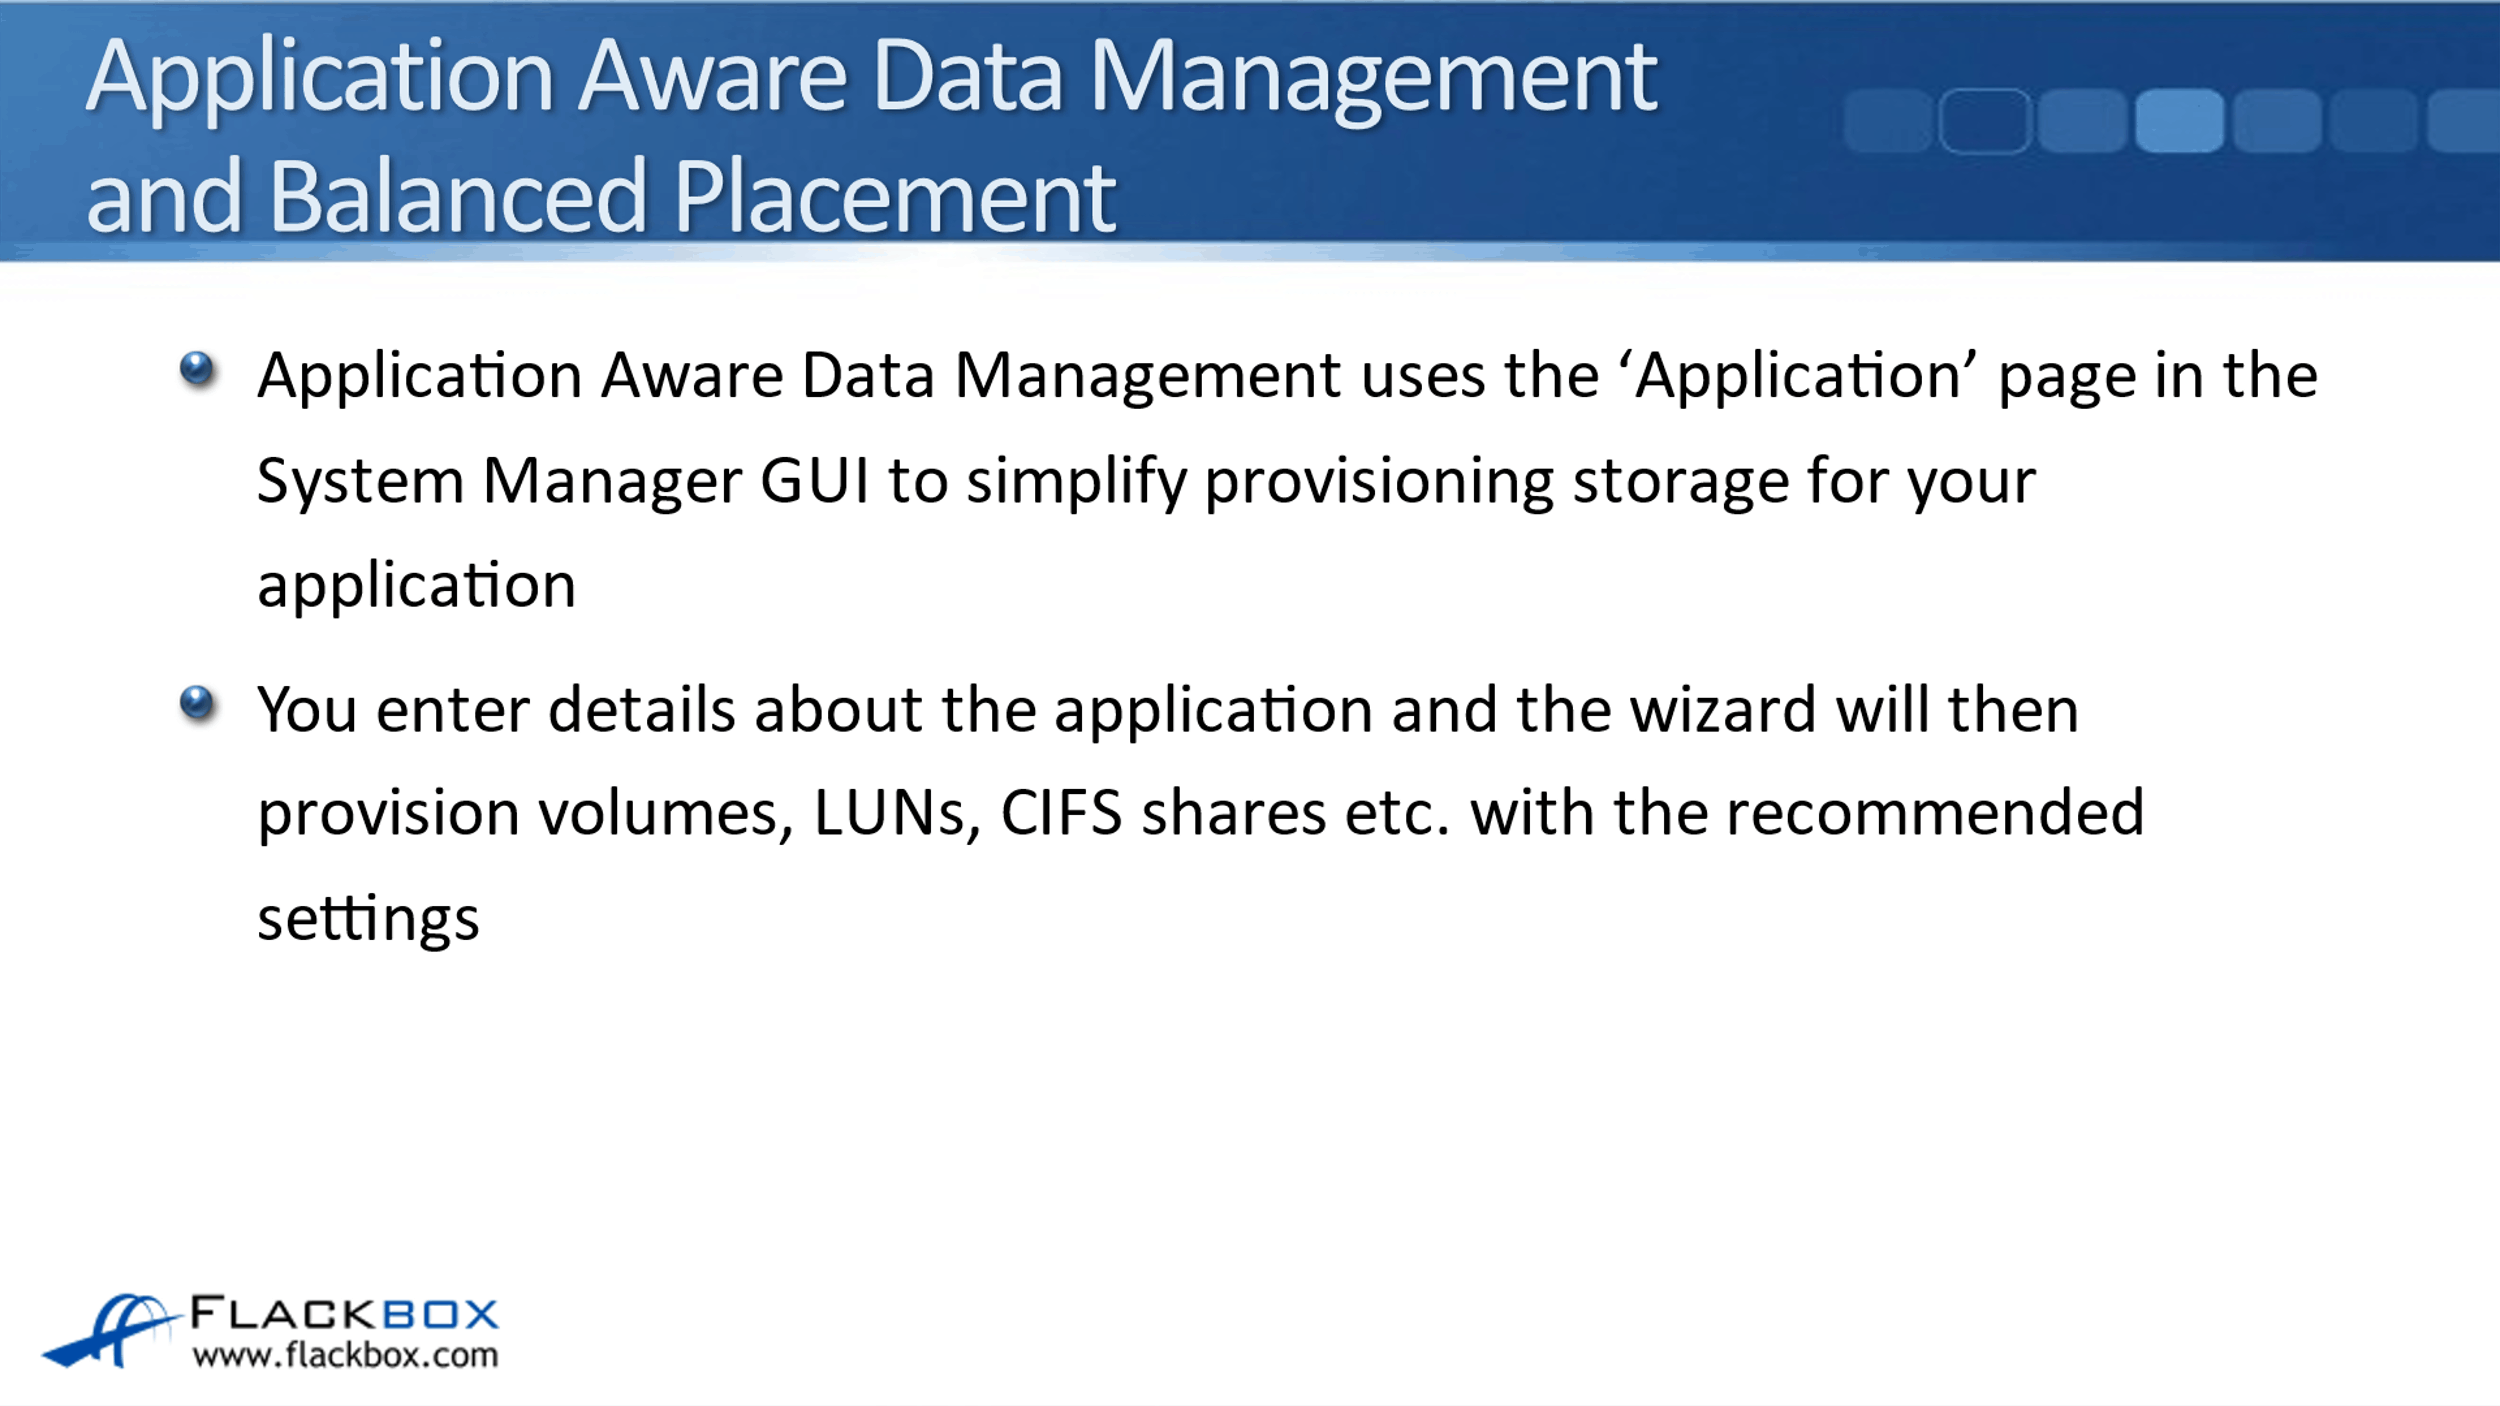
Application Aware Data Management uses the application page in the system manager GUI to simplify provisioning storage for your particular application. You enter details about that application and the wizard will then provision volumes, LUNs, CIFS shares, et cetera, with the recommended settings.
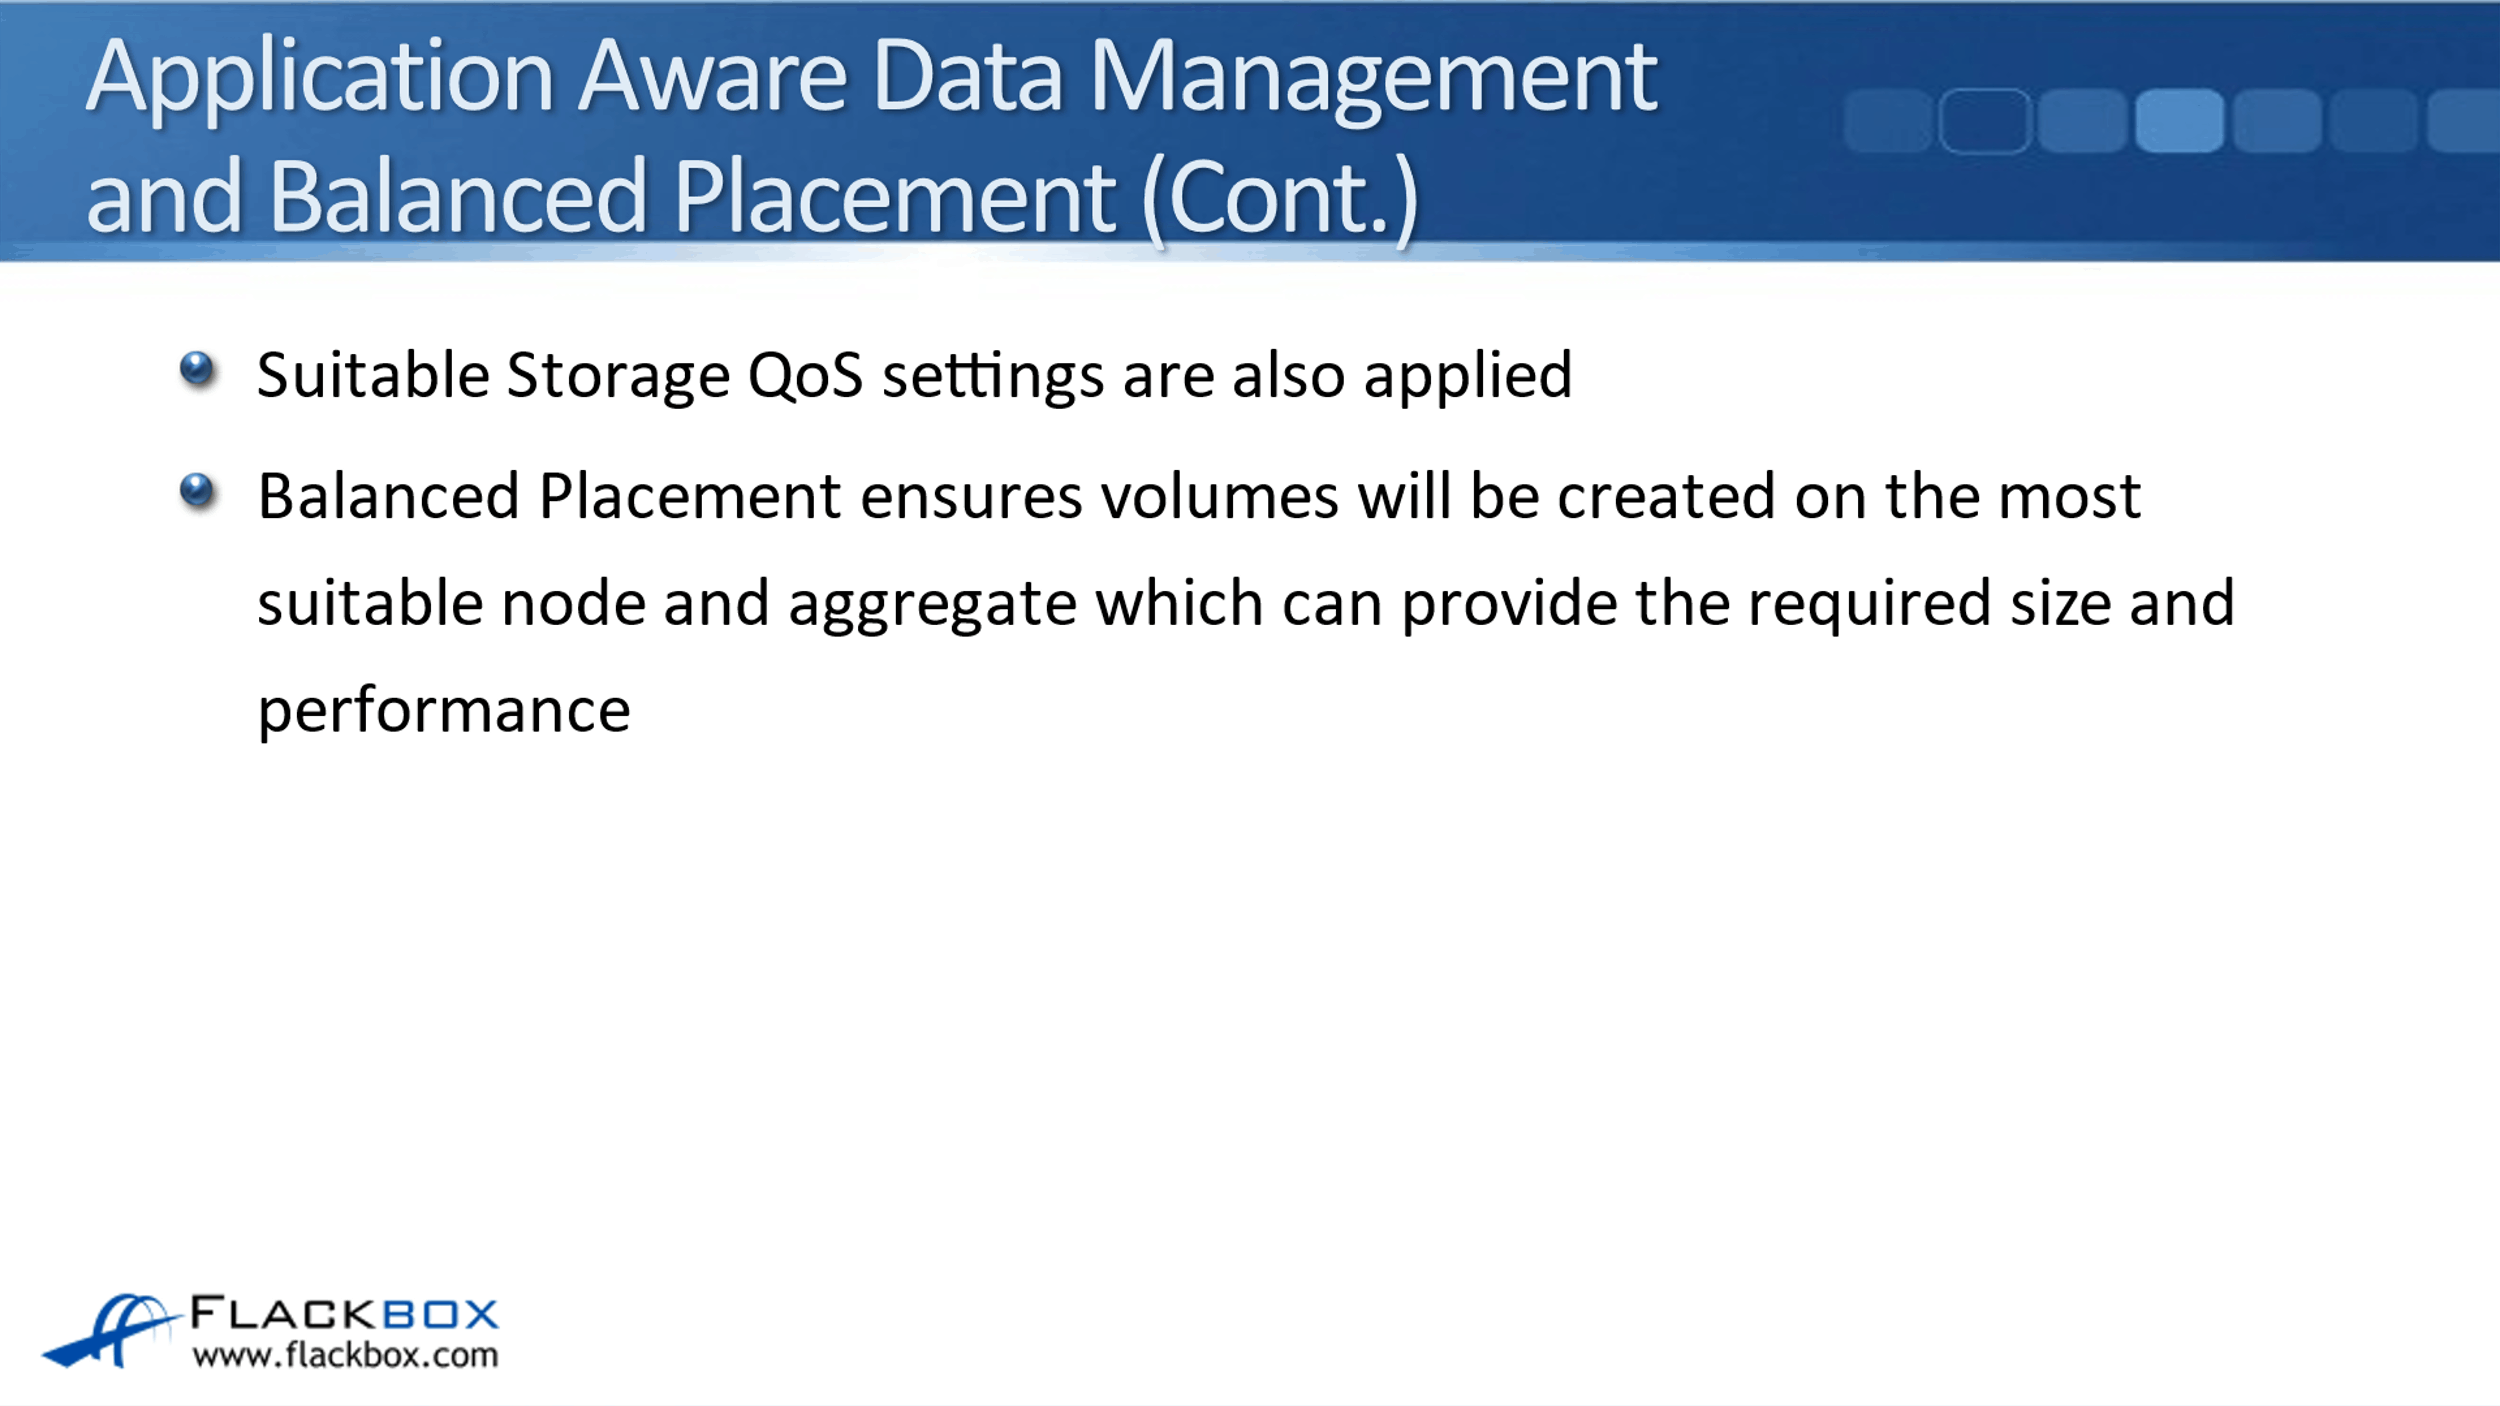
The things that wizard is going to provision are specific to that particular application. For example, if it was for Windows file shares, it will configure the shares for you. If you were configuring SAN storage for a particular database, then it would configure the LUNs. Suitable storage QoS settings are also applied, as well as all the other settings, such as the volume.
Balanced placement ensures that the volumes will be created on the most suitable node and aggregate, which can provide the required size and performance. When you configure this, you enter details about the particular application, including the size of storage that is required and the performance level that is required, and then the system manager wizard will do the rest for you.
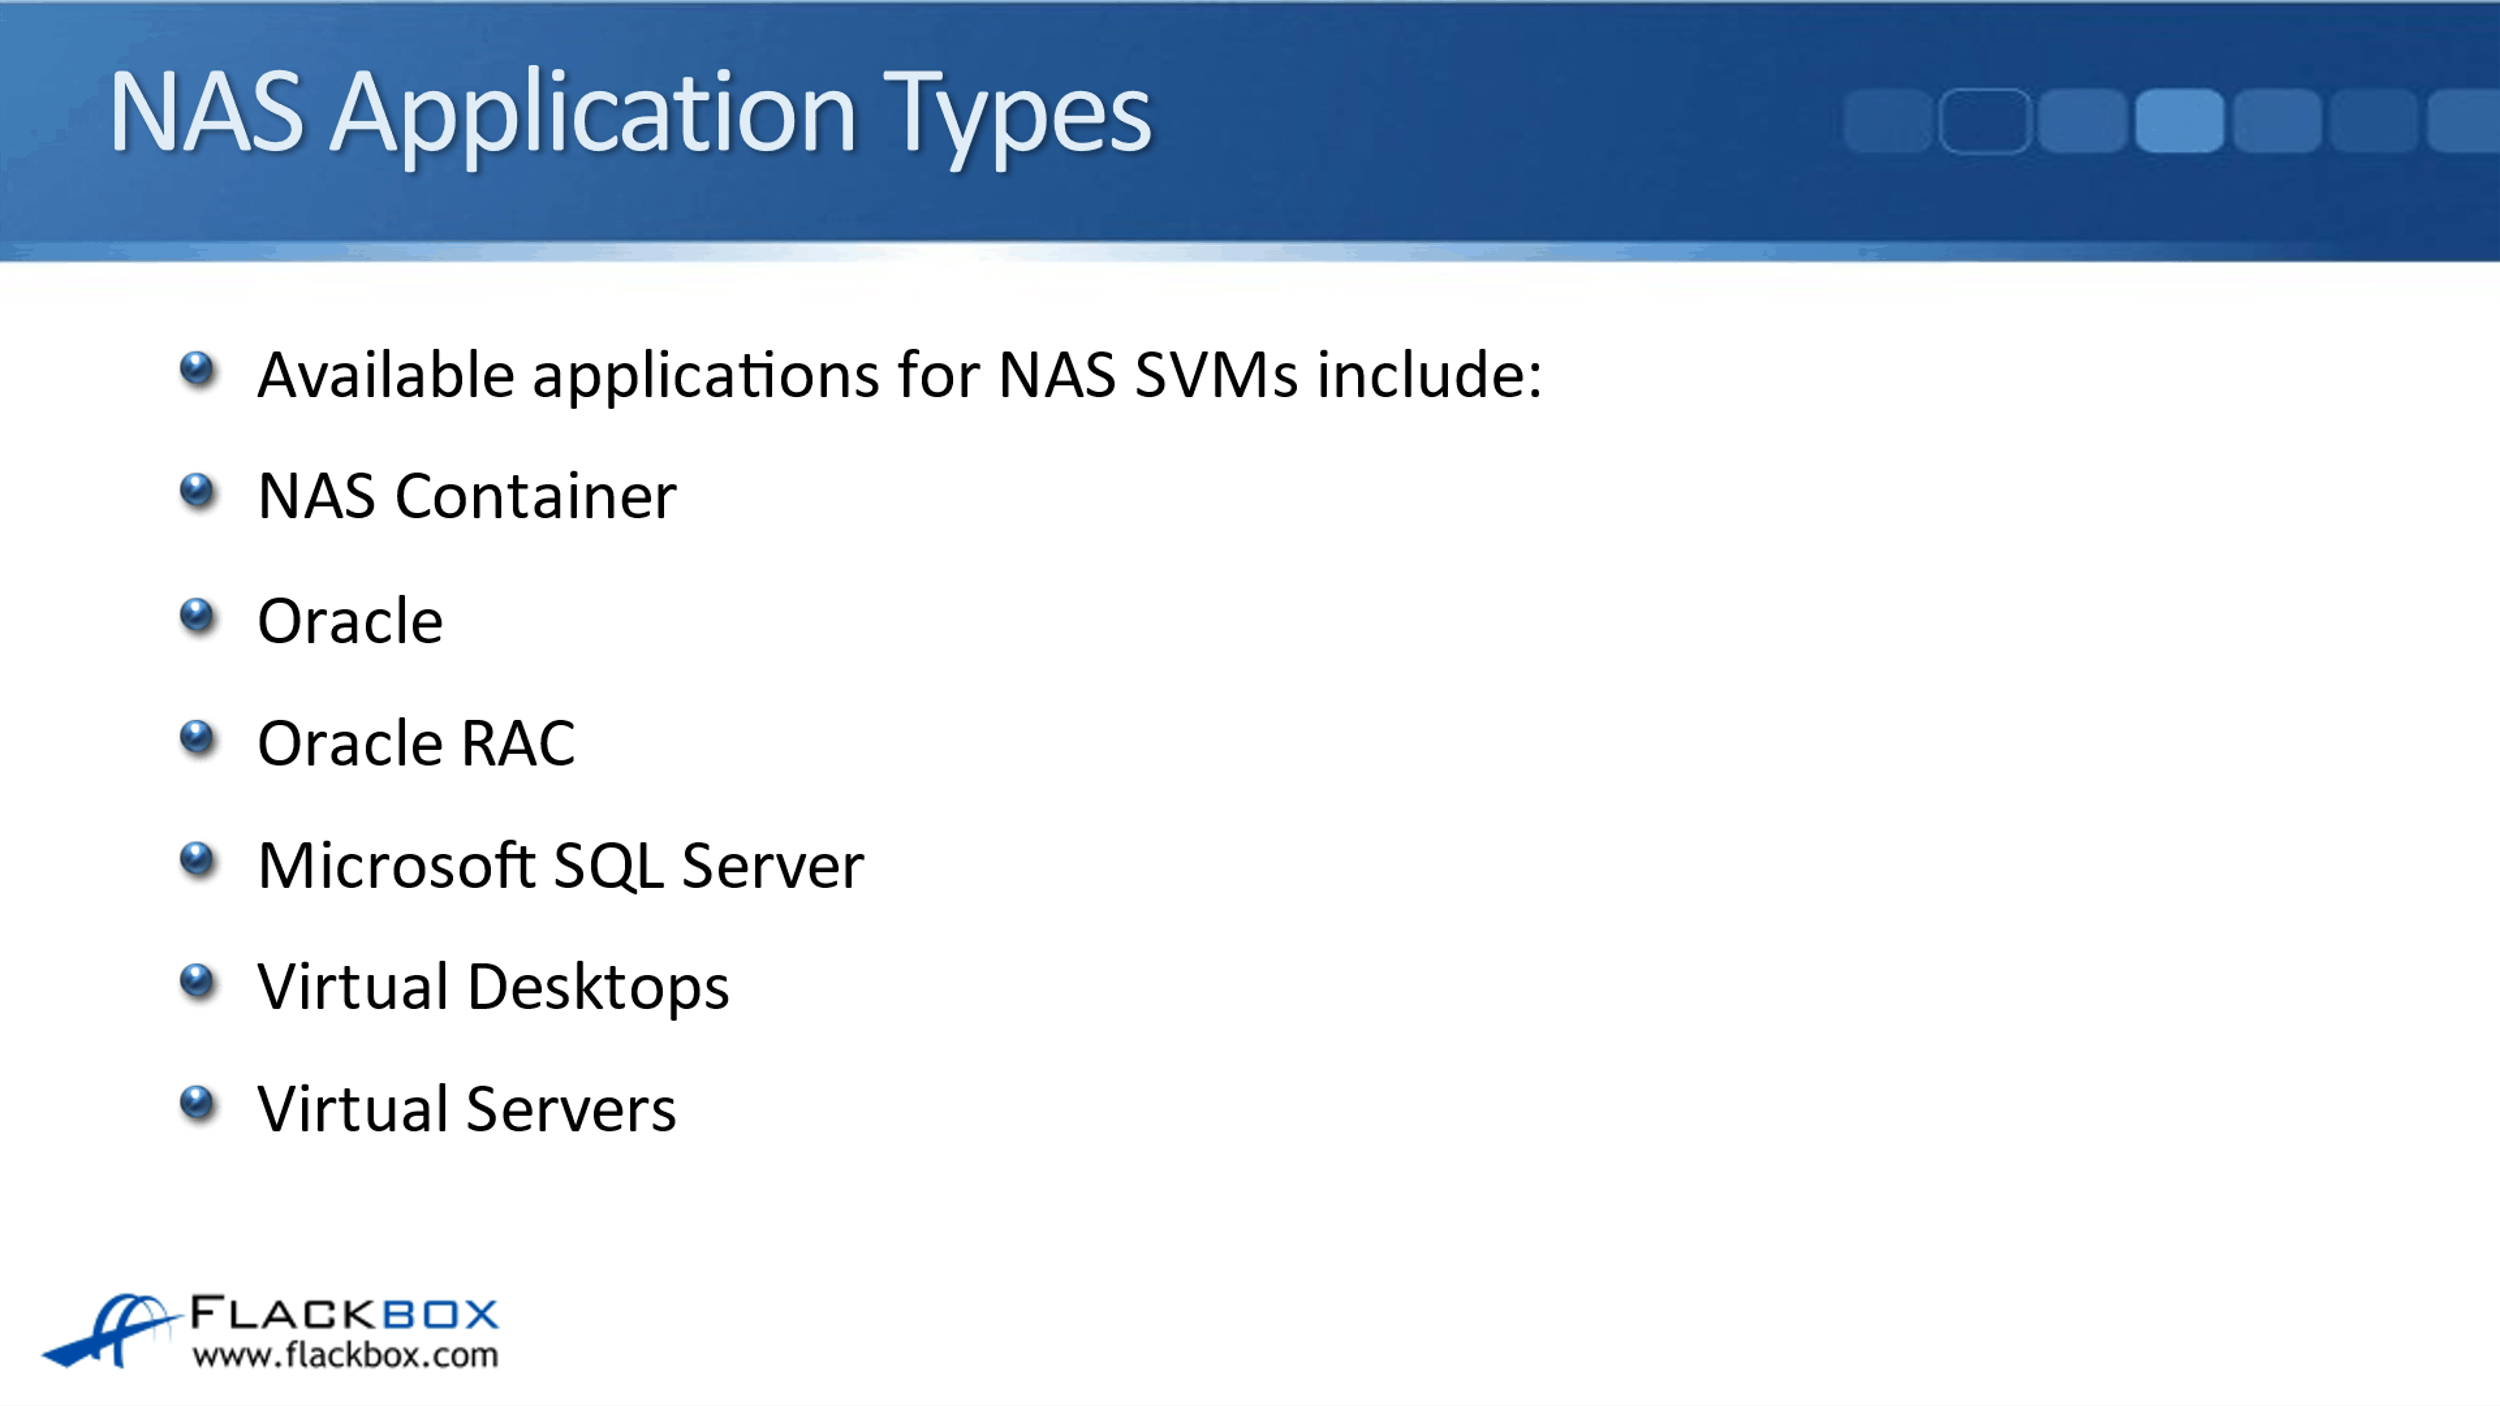
NAS Application Types
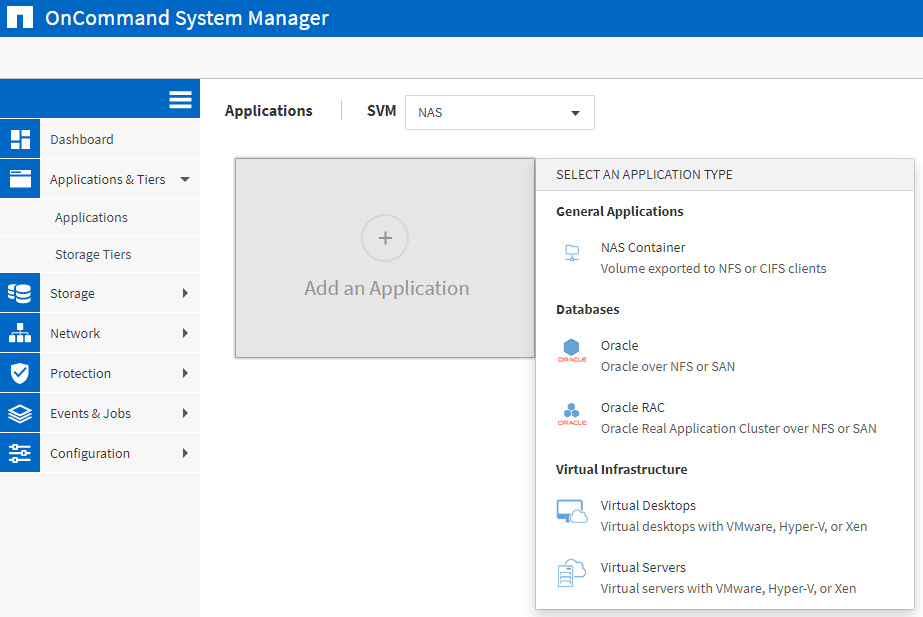
The settings you're going to enter are specific to your particular application. The different applications that are available by default in the GUI right now if you're configuring this on a NAS SVM, are just the standard general NAS container, obviously Oracle, Oracle RAC, Microsoft SQL Server, virtual desktops, and virtual servers.
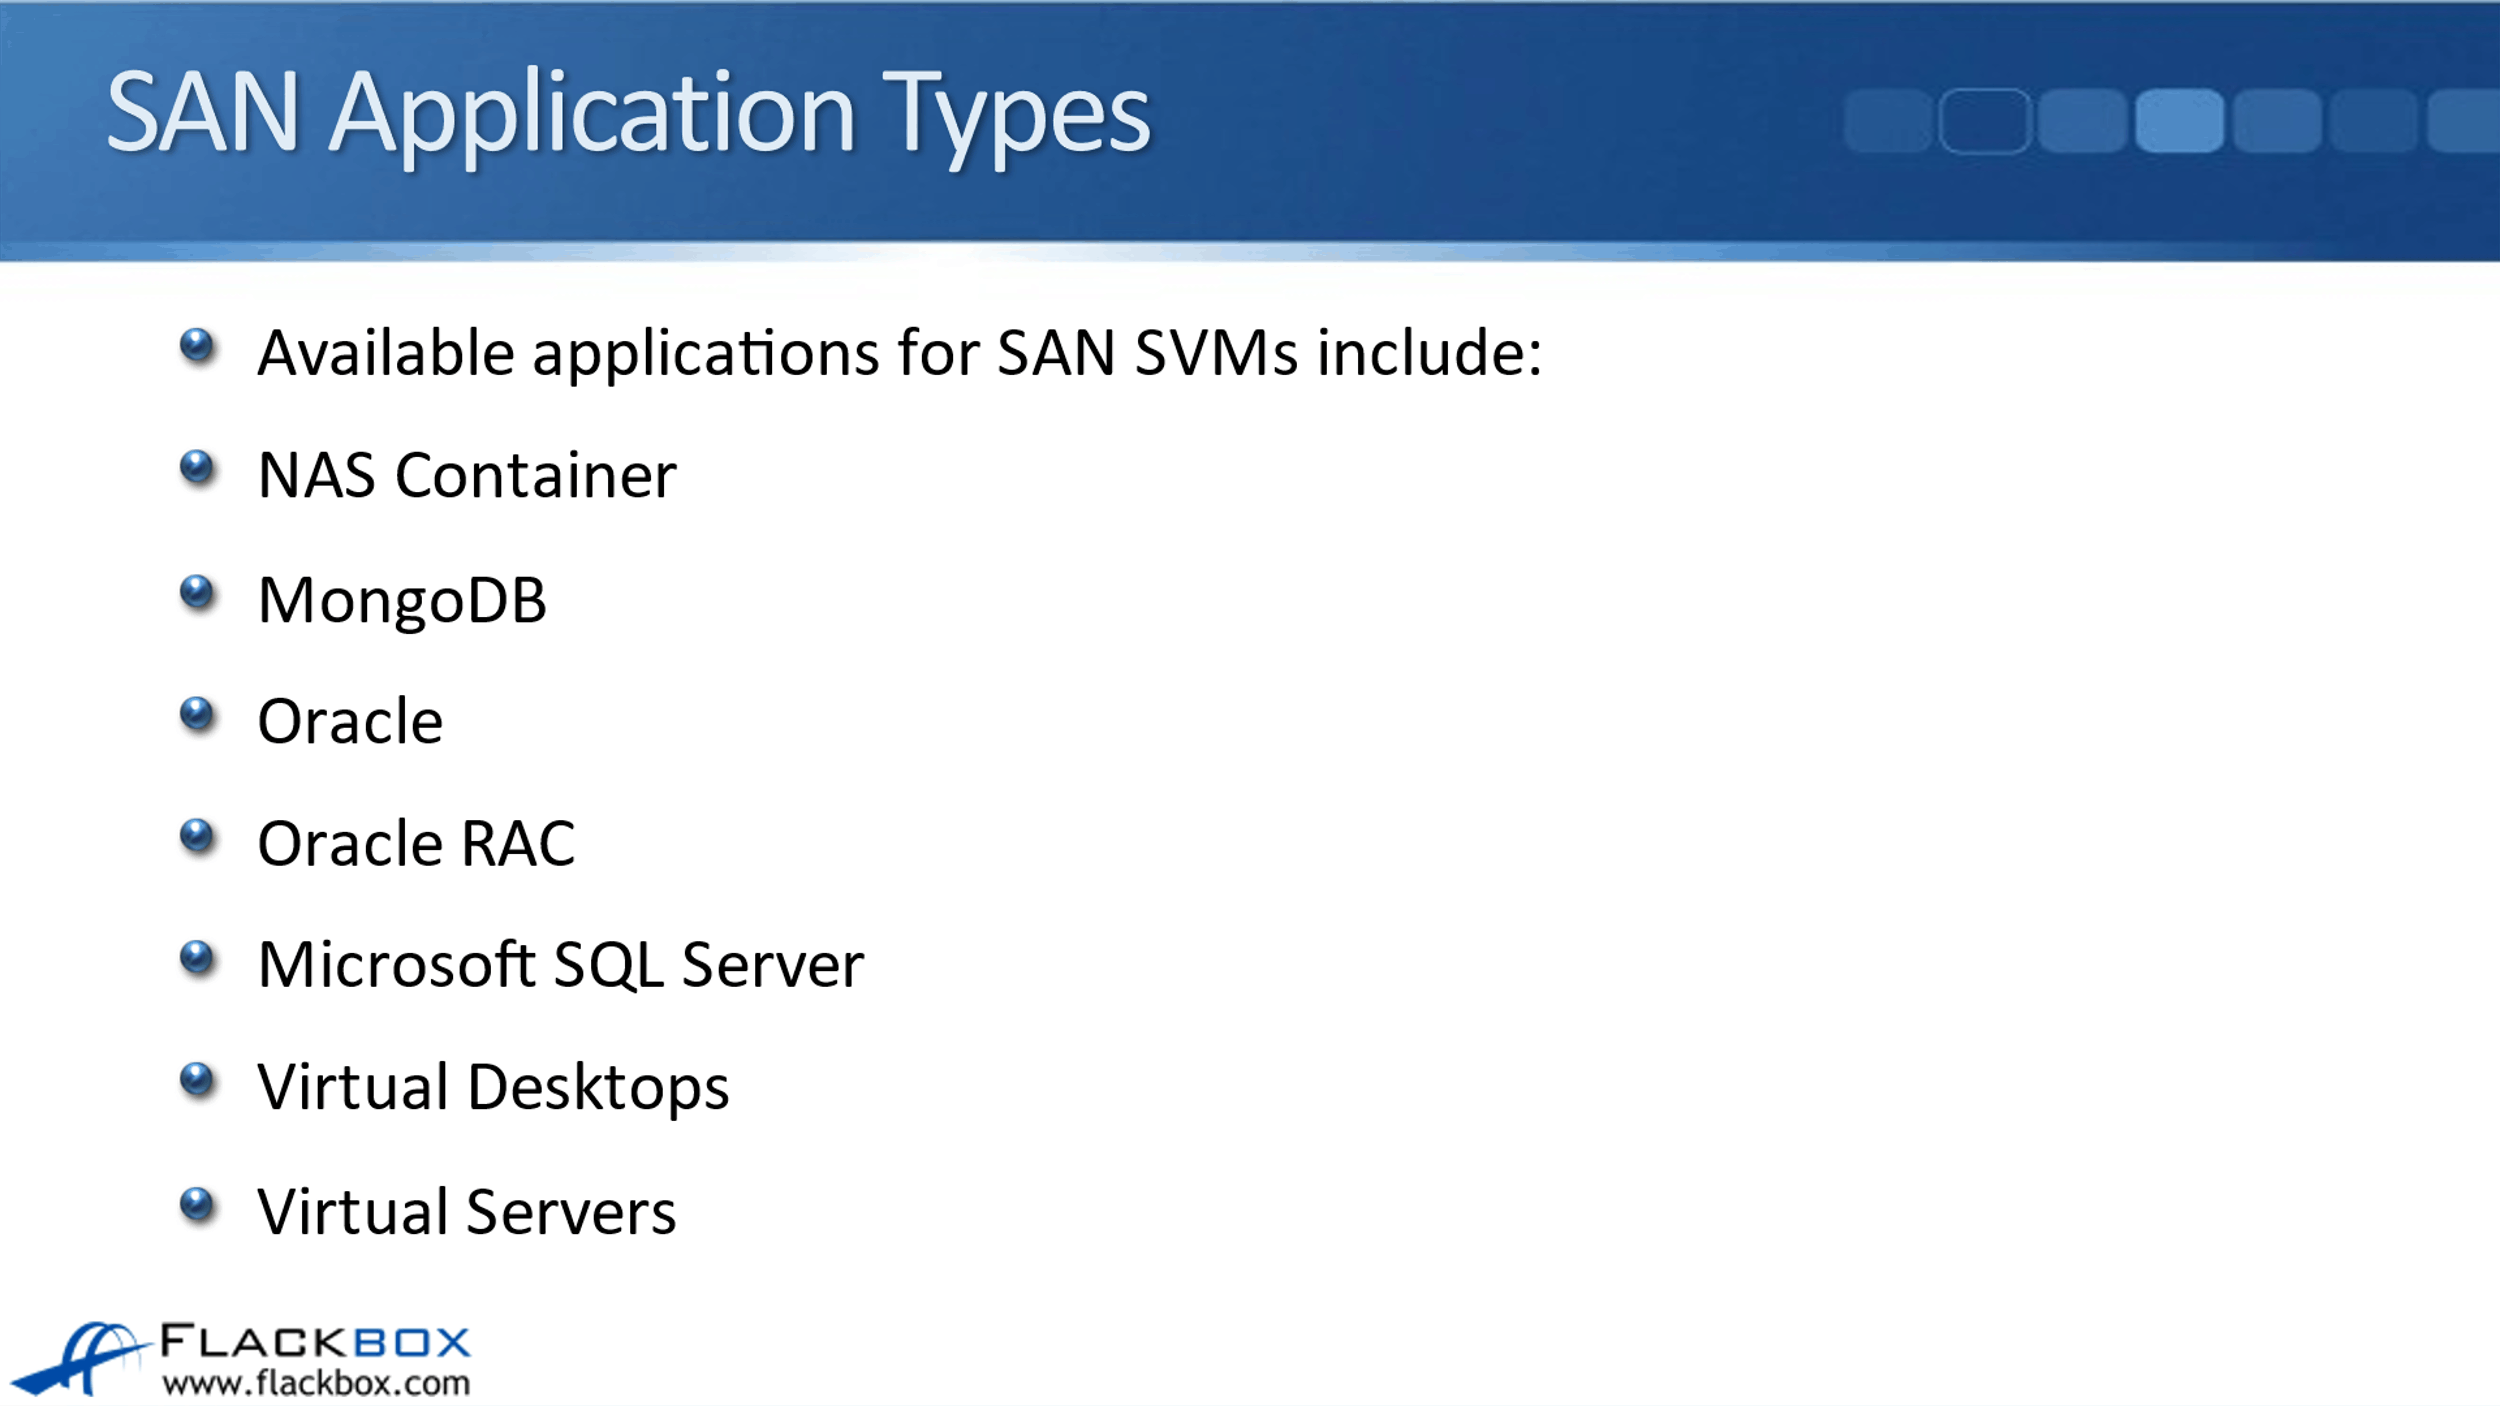
SAN Application Types
If you're configuring this on a SAN SVM, all of those options are also still available and an additional one is MongoDB. When you configure this, you need to have created the SVM first because when you run the wizard, you specify the SVM that this application is going to be in. Everything else after doing the SVM is going to be automatically done for you by the wizard.
Storage QoS Service Levels
You put in settings such as the size that is required. You also enter a QoS service level as well. For each application you configure using the wizard, you specify whether the performance required is Value, Performance, or Extreme.
If you're configuring a database, the different components of the database will be in different volumes. For example, the log file will be in its own separate volume. You can configure different performance levels for the different volumes that make up that database.
Value guarantees the lowest level of performance, therefore, it's suitable for things like email, web, and file shares that don't require high performance. The expected IOPS/TB, this is using adaptive QoS, is 128. The peak IOPS/TB is going to be set to 512, and the expected latency when you use this service level is up to around 17 milliseconds.
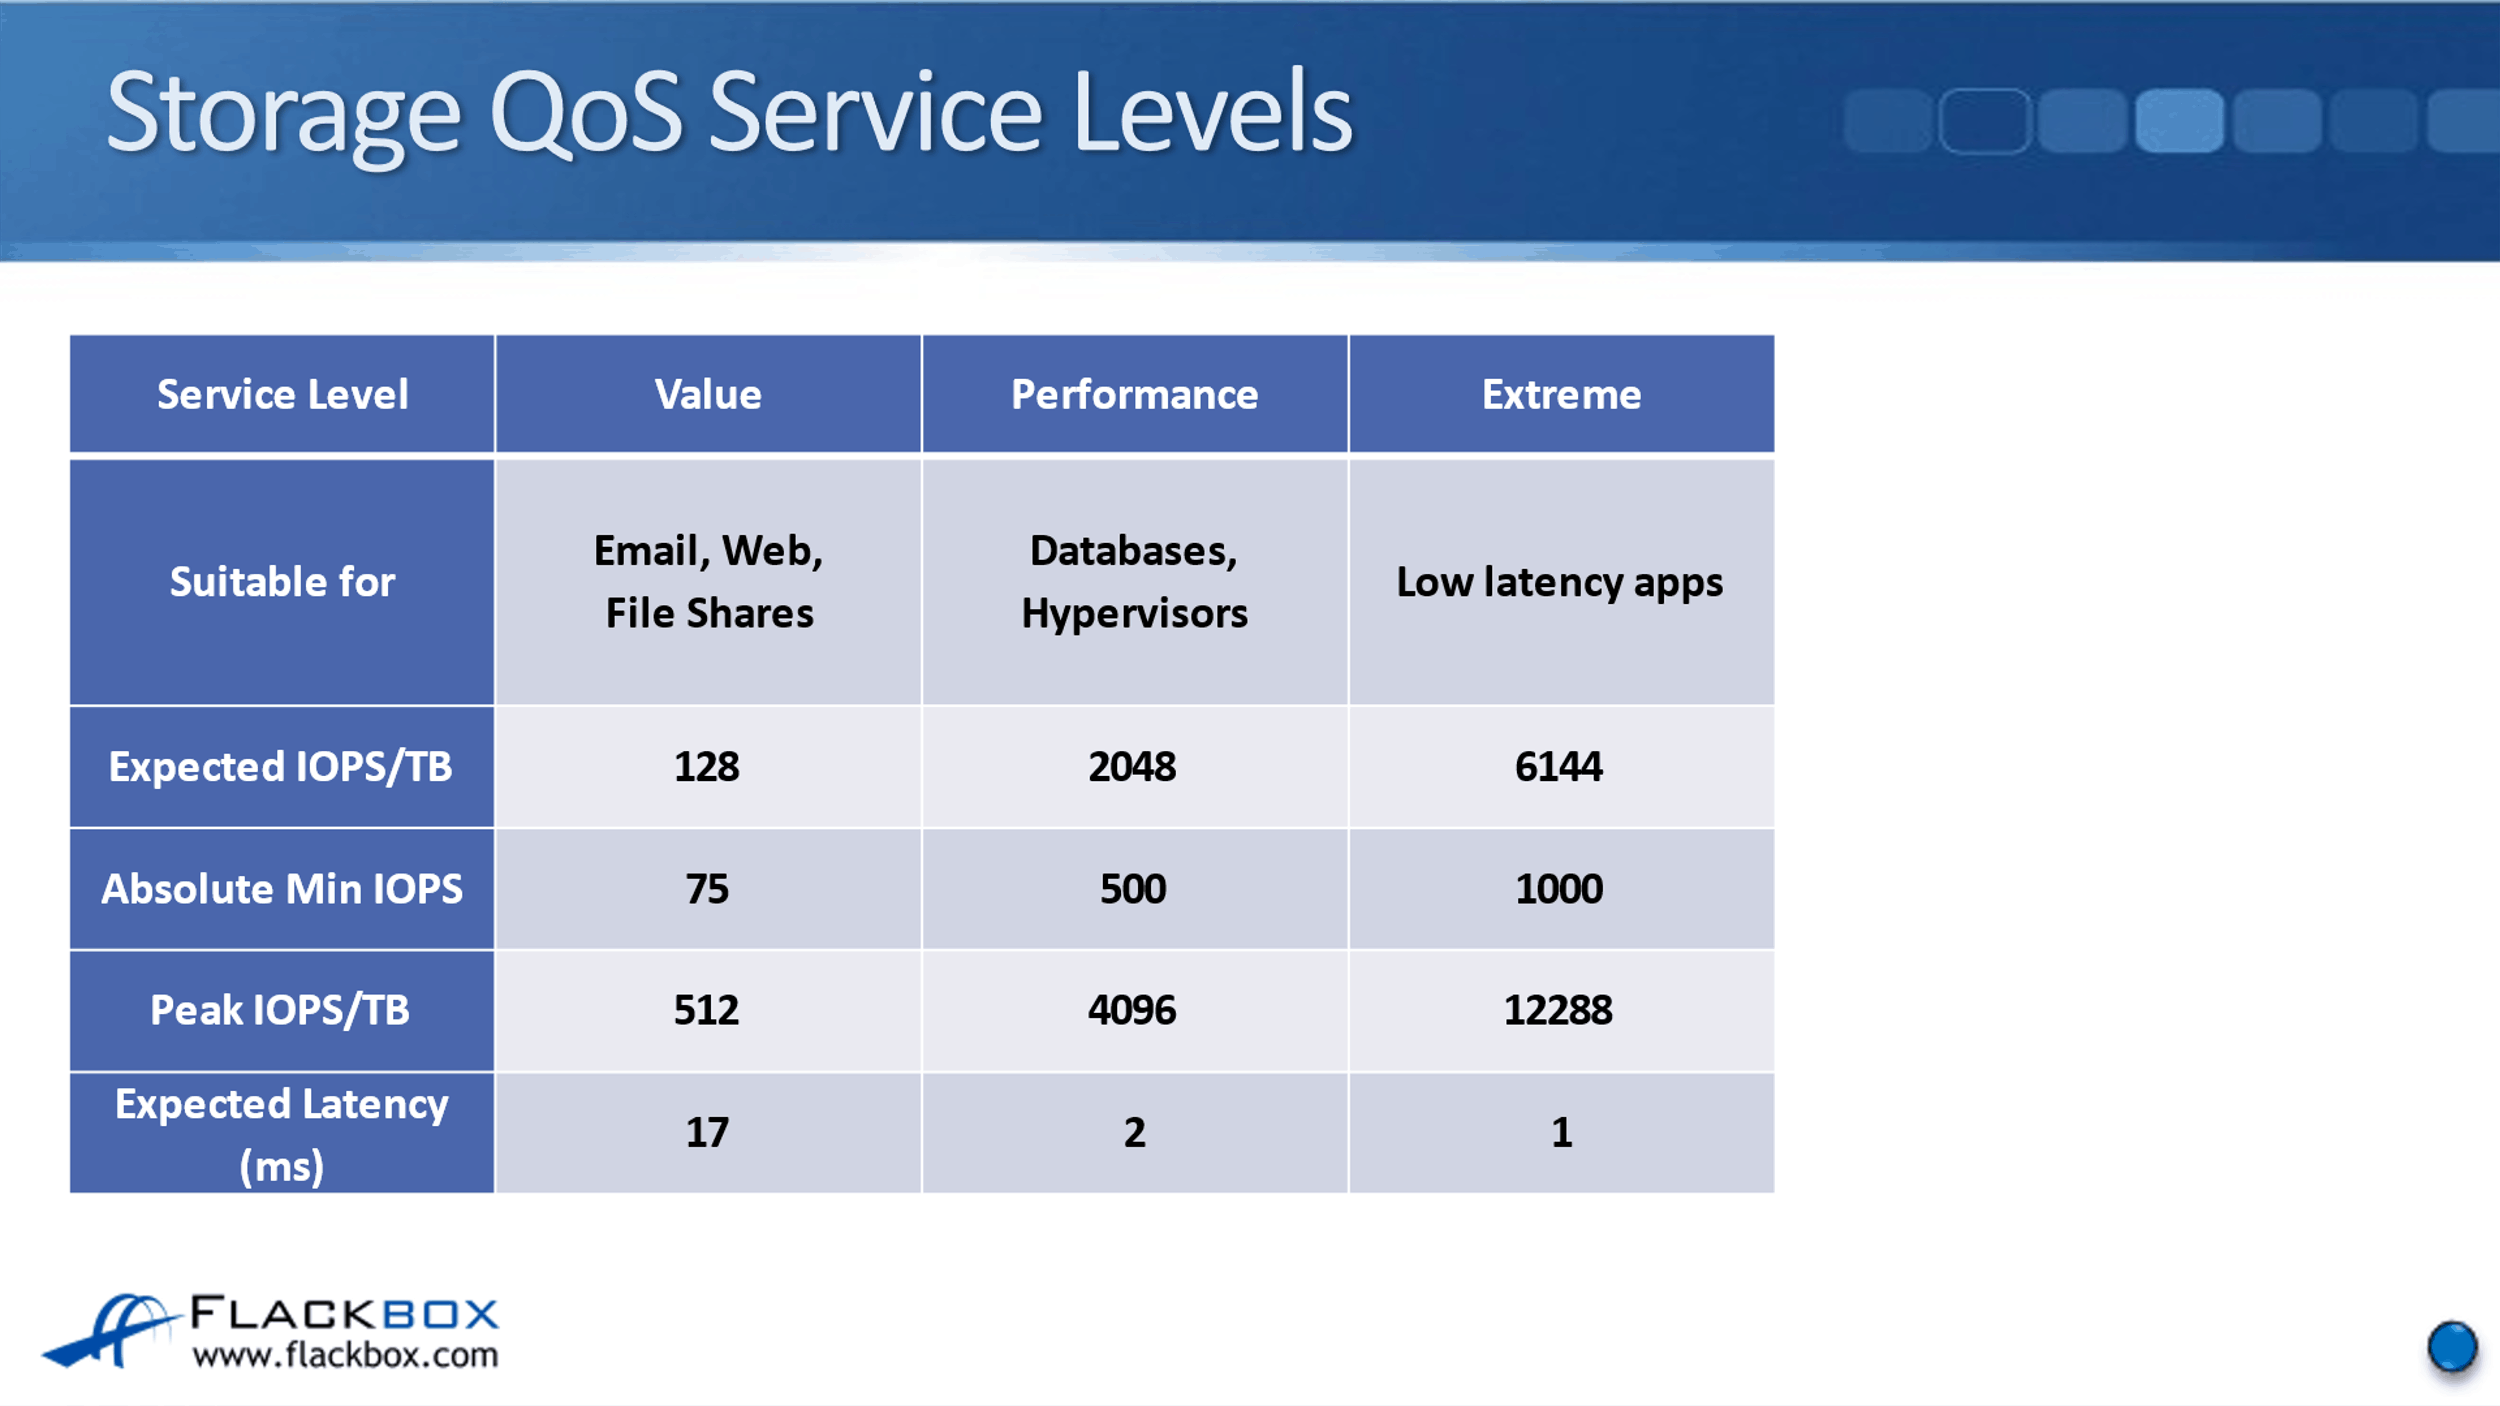
The next service level is Performance. It is suitable for databases and hypervisors, which do require a higher level of performance than your general applications. The expected IOPS/TB is 2048. The peak IOPS/TB is 4096. The expected latency is up to 2 milliseconds.
Finally, we’ve got the Extreme service level. This is for your highest performance apps that require low latency. The expected IOPS/TB is 6144. The peak IOPS/TB is 12288 and the expected latency is up to 1 millisecond.
Now, obviously, you need to have the required hardware to be able to provide this, underlying everything. When you do, what this wizard is going to do is it's going to look at your available nodes and aggregates. Balanced Placement is going to put the volumes on the most suitable node and aggregate and the service level is going to sort out the storage QoS settings for you.
NetApp AADM and Balanced Placement Configuration Example
This configuration example is an excerpt from my ‘NetApp ONTAP 9 Complete’ course. Full configuration examples using both the CLI and System Manager GUI are available in the course.
Want to practice this configuration for free on your laptop? Download your free step-by-step guide ‘How to Build a NetApp ONTAP Lab for Free’
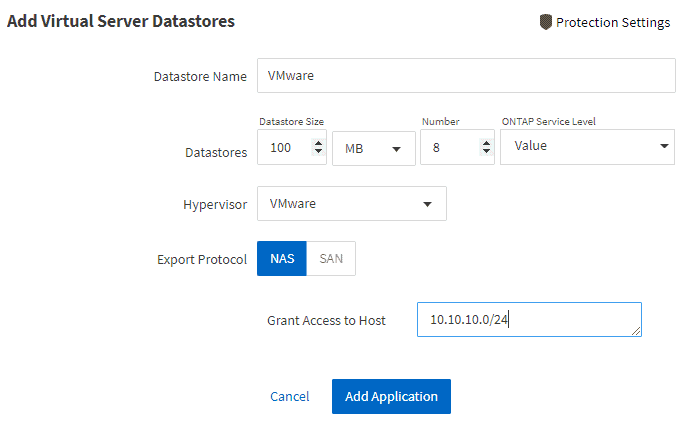
- Use Application Aware Data Management to provision storage for VMware virtual servers. Create eight 100 MB datastore volumes. The VMware clients are in the 10.10.10.0/24 subnet.
‘Applications & Tiers > Applications > select SVM: NAS> Add an Application > Virtual Servers’
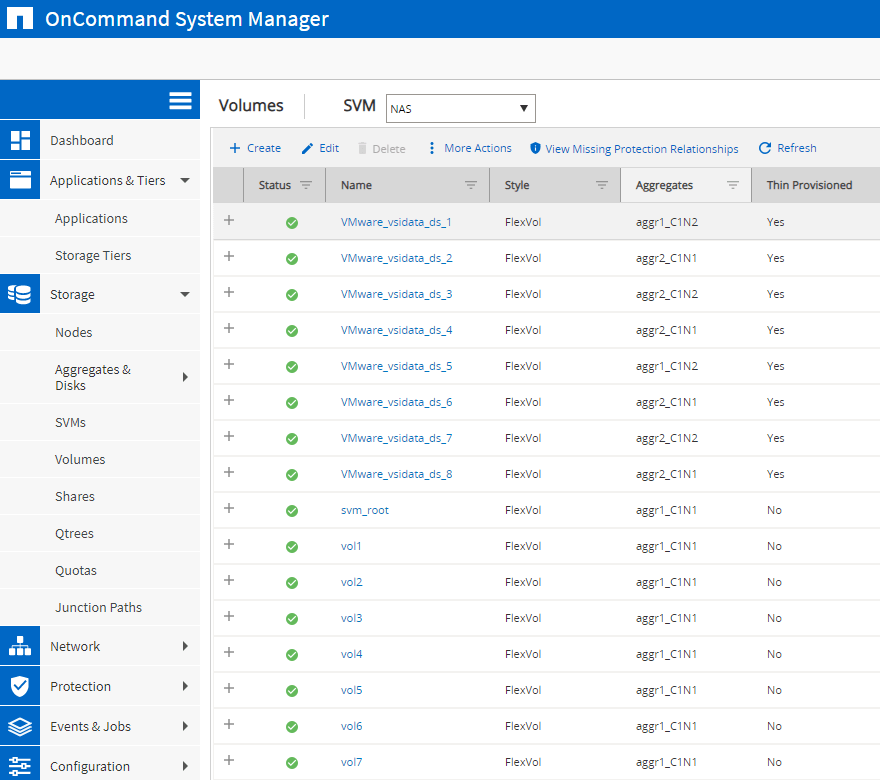
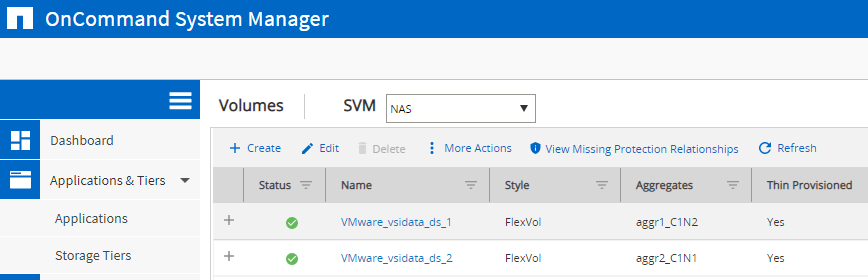
2. Verify the volumes have been created successfully and Balanced Placement has balanced them across the available aggregates.
‘Storage > Volumes’
3. Verify best practice has been applied with storage efficiency enabled on the volumes.
Select any of the VMware volumes.
Click the ‘Storage Efficiency’ tab.

4. Verify access to the volumes is restricted to clients on the 10.10.10.0/24 network.
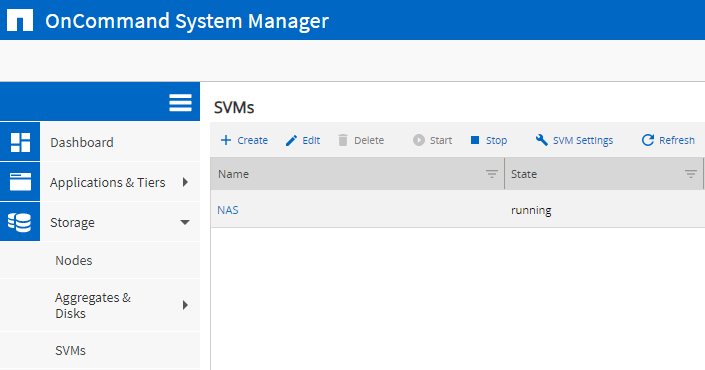
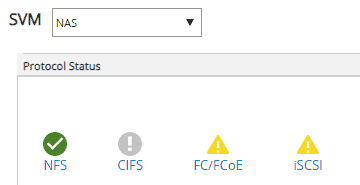
‘Storage > SVMs > select NAS’
Click the ‘NFS’ protocol.
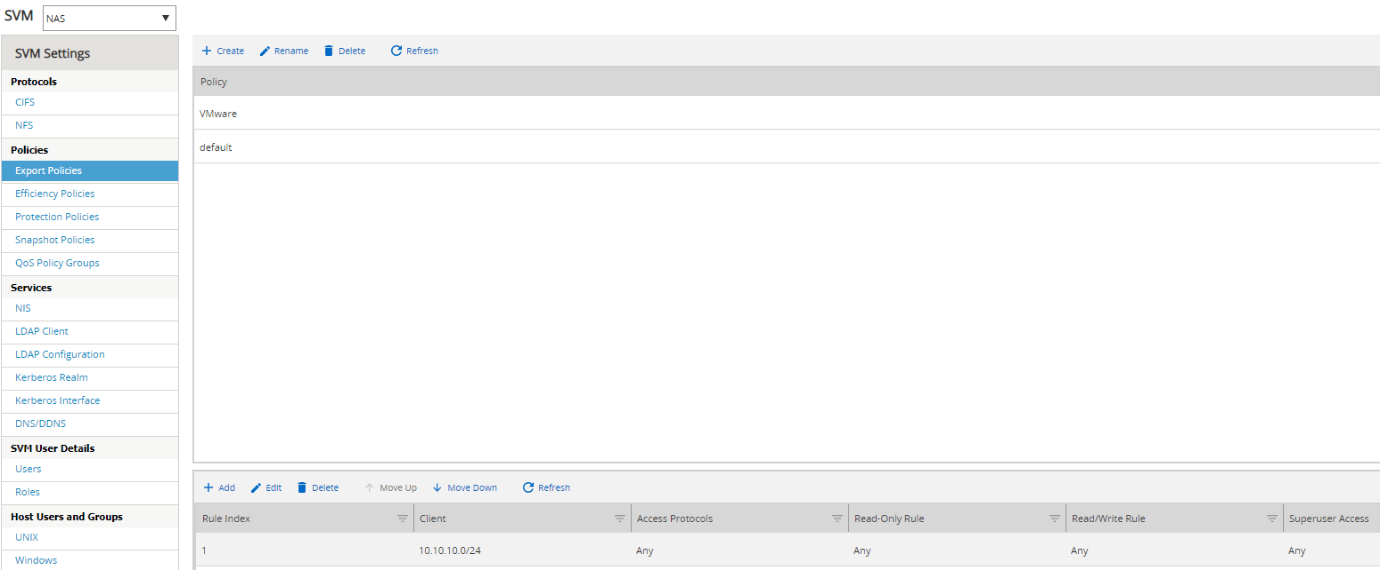
Click ‘Export Policies’ and verify there is a policy named ‘VMware’ which grants access to clients on the 10.10.10.0/24 network.
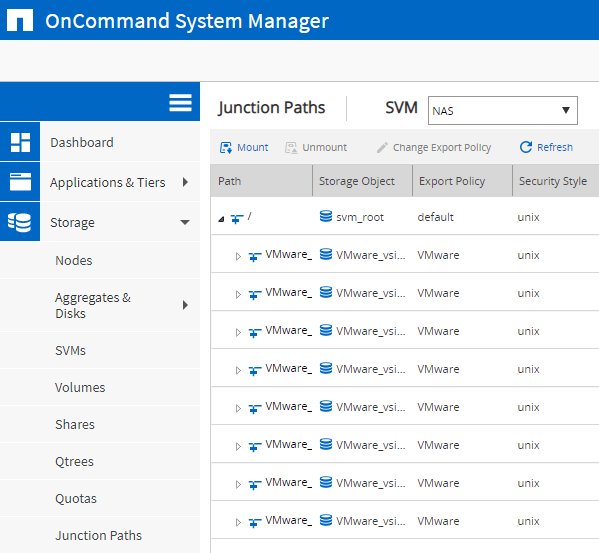
‘Storage > Junction Paths’
Verify the ‘VMware’ export policy is applied to the VMware volumes.
5. Verify the volumes are members of the ‘Value’ Storage QoS adaptive policy group.
cluster1::> volume show -vserver NAS -volume VMware_vsidata_ds_1 -fields qos-adaptive-policy-group
vserver volume qos-adaptive-policy-group
------- ------------------- -------------------------
NAS VMware_vsidata_ds_1 value
Additional Resources
Application Aware Data Management: https://docs.netapp.com/us-en/ontap/concepts/application-aware-data-management-concept.html
Libby Teofilo

Text by Libby Teofilo, Technical Writer at www.flackbox.com
Libby’s passion for technology drives her to constantly learn and share her insights. When she’s not immersed in the tech world, she’s either lost in a good book with a cup of coffee or out exploring on her next adventure. Always curious, always inspired.